Feature Articles/Exterior9 min read

Reinforcing the L663 Defender Tailgate for Heavy Spare Wheels
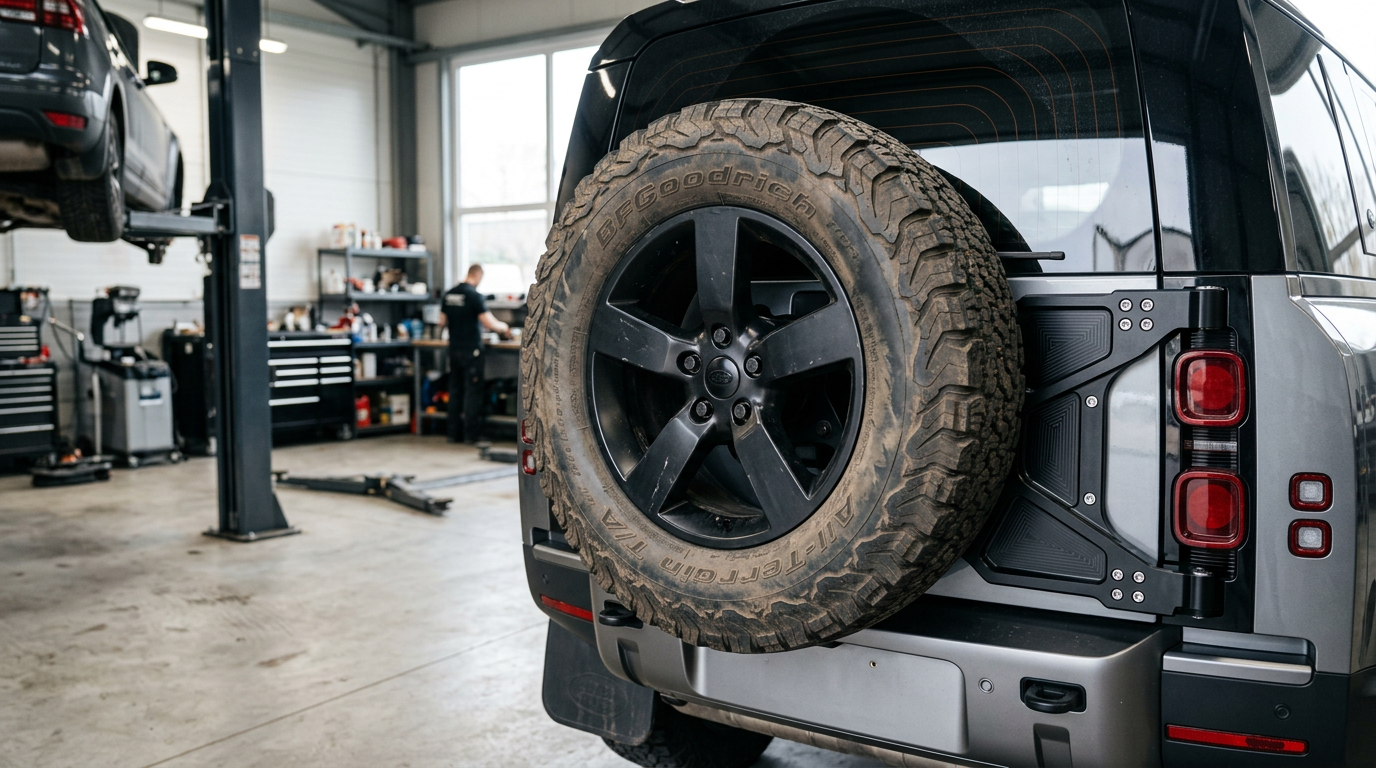
Heavy-duty billet aluminium tailgate reinforcement plate installed on an L663 Defender, highlighting the structural mounting bolts on www.defender-accessories.com

Fitting oversized tyres or heavy steel wheels to your L663 Land Rover Defender can quickly overload the factory aluminium tailgate structure. This comprehensive guide covers structural load limits, how to choose between door-mounted plates and chassis-mounted swing carriers, step-by-step trim disassembly, waterproof sealing, and adjusting your tailgate hinges for perfect latch alignment.

Understanding L663 Tailgate Load Limits and Fatigue Risks

The L663 Land Rover Defender features a modern aluminium monocoque architecture, a significant departure from the steel-chassis utility designs of its predecessor. While this provides immense torsional rigidity and weight savings, it introduces specific engineering constraints. The rear tailgate is constructed from stamped aluminium panels. The factory-fitted tyre carrier is bolted directly to an inner structural reinforcement skin inside the door assembly. This setup is perfectly engineered for the dynamic load of a standard wheel-and-tyre package, which typically weighs between 28 kg and 32 kg depending on whether you have 19-inch or 20-inch alloy options.

When owners upgrade to heavy-duty off-road tyres, such as 33-inch mud-terrains, or opt for heavy 18-inch steel wheels, the combined weight can easily exceed 42 kg to 48 kg. While the tailgate may support this static load when the vehicle is stationary, dynamic loads change the equation entirely. Off-road driving, corrugations, and sudden vertical drops subject the tailgate to extreme G-forces. This dynamic load multiplies the effective weight of the spare wheel, transferring severe torsional leverage to the door's inner structural frame, its hinges, and the latch mechanism. Over time, this leads to structural aluminium fatigue, micro-fracturing around the mounting points, and hinge sag.

Identifying early signs of tailgate fatigue is critical before catastrophic structural failure occurs. Common indicators include a rear door that requires extra force to latch closed, visual sagging when open, or a squeaking or rattling sound while driving over rough surfaces. The latter is often caused by the striker assembly moving against the door lock due to the door skin flexing under the weight. Addressing these issues early prevents permanent warping of the aluminium door frame, which cannot easily be pulled back into alignment once deformed.

Selecting the Right Upgrade: Reinforcement Plates vs. Swing-Away Carriers

To mitigate the risks associated with carrying an oversized spare wheel, DIY installers can choose between two primary aftermarket engineering solutions: door-mounted reinforcement plates and chassis-mounted swing-away carriers. Door-mounted reinforcement plates are designed to bolt directly over the factory mounting locations on the exterior skin. They are typically machined from high-grade 6061-T6 billet aluminium or laser-cut from heavy-gauge structural steel. These plates work by distributing the load across a much wider surface area of the inner tailgate frame, tying multiple structural stamping sections together to eliminate localised metal flexing.

The primary advantage of door-mounted reinforcement plates is their integration with the vehicle's standard utility; the door opens in a single motion, and the factory soft-close mechanism remains fully functional. However, they still ultimately transfer the weight of the spare wheel to the factory tailgate hinges. For extreme setups—such as 35-inch tyres or those carrying additional gear like recovery tracks or fuel cans on the spare wheel—a chassis-mounted swing-away tyre carrier is the safer engineering choice. These systems bypass the tailgate structure entirely by mounting to the vehicle's rear subframe or recovery loop mounting points.

While a chassis-mounted carrier offers unmatched load capacity and isolates the aluminium tailgate from all dynamic tyre forces, it introduces mechanical complexity. It requires a two-step opening process: first swinging the tyre carrier out of the way, and then opening the vehicle tailgate. It also adds significant weight behind the rear axle line and requires partial removal and trimming of the rear bumper fascia during installation. For most owners running tyre sizes up to 33 inches, a high-quality door reinforcement plate combined with heavy-duty hinges is the optimal balance of convenience and structural protection.

Step-by-Step Guide to Removing the Tailgate Interior Trim

Installing a structural reinforcement plate requires access to the interior of the tailgate to verify fastener integrity, inspect internal wiring, and route camera extensions. Before starting, disconnect the vehicle battery to prevent any electrical faults or accidental airbag deployment codes, as you will be working near lock actuators and keyless entry antennae. Begin by opening the tailgate fully and securing it to prevent wind or movement from shifting it during disassembly.

Start by removing the upper plastic trim piece surrounding the rear window. Use a wide plastic trim tool to gently pry the panel away from the metal frame, starting from the top center and working outward to release the metal retention clips. Once the upper trim is free, focus on the main lower door card. Locate the grab handle pocket on the interior of the door; use a small flat-head pick tool to pop off the decorative cover plate, exposing two Torx T30 fasteners. Remove these screws and set them aside. If your vehicle is fitted with the rear door puddle light or speaker, pry the light housing out from the bottom edge and disconnect its wiring harness.

With the fasteners removed, use a heavy-duty trim panel lever tool to disengage the industrial plastic retainers holding the main door card to the inner aluminium skin. Start at the bottom corners and work your way up the sides. Apply firm, steady outward pressure; you will hear loud popping sounds as the plastic clips release. Once all clips are free, lift the door card vertically to clear the top window sill channel. Carefully hold the panel close to the door while you disconnect the bowden cable for the emergency interior mechanical release latch and unplug any remaining electrical connectors for the speakers or rear wiper motor.
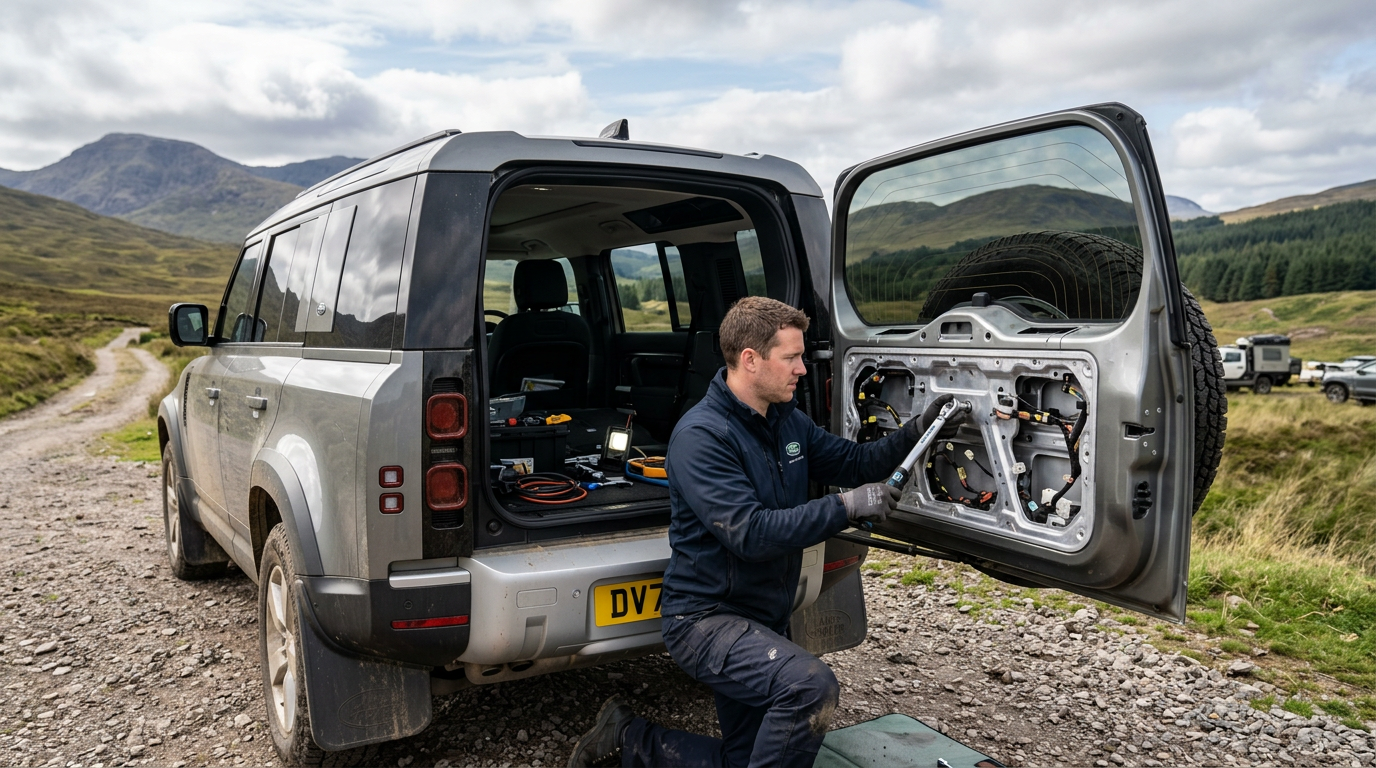
Interior view of an L663 Defender tailgate with trim removed, showing structural reinforcement access on www.defender-accessories.com

Mounting the Reinforcement Assembly and Managing Sealing Interfaces

With the interior of the tailgate exposed, you can now unbolt the factory plastic-covered tyre carrier from the exterior of the door. It is secured by five M8 bolts. Have an assistant support the carrier from the outside while you loosen these bolts from the inside using a 13mm socket. Once the factory carrier is removed, thoroughly clean the exterior paint surface behind it with isopropyl alcohol to remove dirt, wax, and road grime. Any debris left behind will trap moisture and cause abrasive wear once the new plate is bolted down.

When installing the aftermarket reinforcement plate, preventing water ingress is paramount. The L663 rear tailgate houses sensitive electronic components, including the keyless entry receiver, rear camera modules, and the main latch actuator. Most high-quality reinforcement kits include pre-cut neoprene or closed-cell foam gaskets. If your kit does not include these, apply a continuous bead of high-grade automotive butyl rubber sealant around each bolt hole and along the perimeter of the reinforcement plate. Place the plate onto the door skin, aligning the mounting holes with the factory internal reinforcement threads.

Thread the high-tensile Class 10.9 fasteners supplied with your kit by hand to avoid cross-threading the aluminium internal receivers. Working in a star pattern, gradually tighten the bolts to distribute pressure evenly across the gasket. Using a calibrated torque wrench, torque the M8 fasteners to the manufacturer's specification, typically between 24 Nm and 28 Nm. Over-tightening can strip the internal aluminum threads or crush the outer skin, while under-tightening will allow movement and water leaks. Once torqued, inspect the perimeter of the plate to ensure the gasket has compressed evenly and no sealant gaps are present.

Re-routing and Extending the ClearSight Camera and Wiring Harness

A major technical challenge when fitting larger wheels or relocating the spare tyre carrier is maintaining the functionality of the rear-view ClearSight camera and the high-mount third brake light. The ClearSight camera, which streams a high-definition video feed to the digital rear-view mirror, is integrated into the factory tyre carrier assembly or the roof pod depending on your model year. If your camera is carrier-mounted, moving the wheel outward or upward to clear the bumper will obscure the camera's field of view unless it is relocated.

Most heavy-duty carrier kits include a relocation bracket that mounts the camera housing proud of the new tyre's sidewall. To wire this, you must carefully extend the factory wiring loom. Locate the camera wiring connector inside the tailgate cavity. This harness carries sensitive coaxial high-frequency video signals alongside standard 12V power wires. Avoid cutting and splicing these high-frequency coaxial cables manually, as doing so introduces impedance mismatches that degrade video quality or cause signal loss. Instead, use high-quality FAKRA-compliant extension cables designed specifically for automotive LVDS (Low-Voltage Differential Signaling) applications.

Route the extended harness through the center of the reinforcement plate, using the integrated rubber grommets to prevent the metal edges of the plate from chafing the wires. Ensure the harness has sufficient slack to accommodate tyre vibration, but secure it tightly with UV-stabilised cable ties to prevent it from rubbing against the sharp edges of the spare wheel bracket. Inside the door cavity, secure the excess cable to the factory wiring runs using automotive fleece tape (such as Tesa tape) to prevent annoying rattles inside the cabin.

Adjusting the Tailgate Hinges and Aligning the Striker Assembly

After successfully installing the reinforcement plate, mounting your upgraded tyre carrier, and securing the heavier spare wheel, you must check and adjust the tailgate's mechanical alignment. The added mass will cause the door to hang lower on its hinges, which can prevent the latch from lining up cleanly with the striker plate on the body. This misalignment causes wear on the latch mechanism and can prevent the soft-close feature from operating correctly.

To realign the door, start by loosening the hinge-to-body bolts slightly—just enough to allow movement under firm pressure, but not so loose that the door drops completely. Close the tailgate gently and observe how the latch enters the striker. If the door has sagged, have an assistant lift the rear edge of the open door upward from the latch side while you torque the hinge bolts back to 45 Nm. Open and close the door several times to check the gaps; the shut lines between the tailgate and the rear quarter panels should be uniform on both the left and right sides.

Finally, adjust the striker plate on the vehicle body. Loosen the two Torx T40 bolts securing the striker, shift its position slightly to match the path of the newly aligned latch, and retighten. Ensure the adjustable rubber bump stops located on the inner frame of the tailgate are set correctly. Thread them in or out so they make firm contact with the body when closed, which dampens movement and prevents the door from vibrating dynamically on the trail. Reinstall the interior door card by reversing the disassembly process, ensuring all metal clips are aligned with their slots before snapping them back into place.
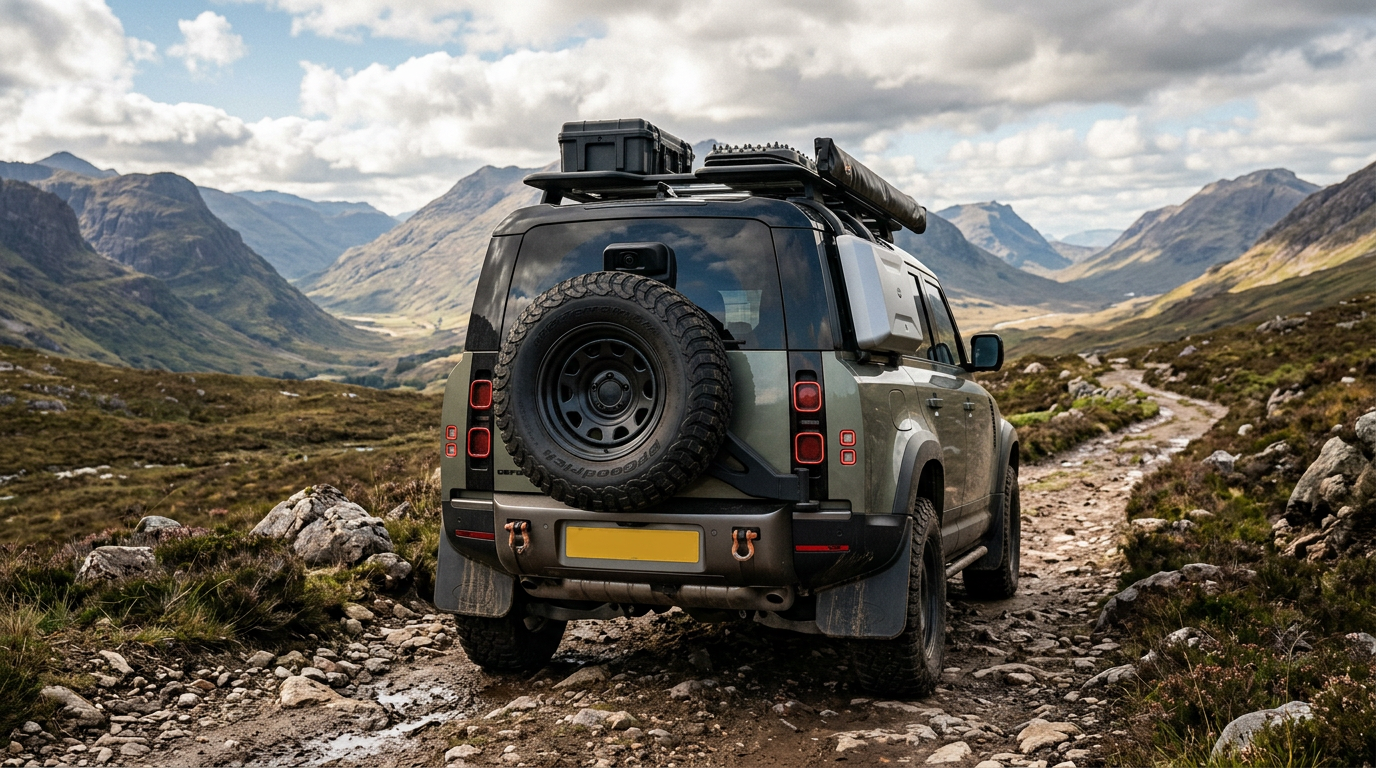
Rear view of an L663 Defender with an oversized mud-terrain spare tyre and relocated ClearSight camera on www.defender-accessories.com
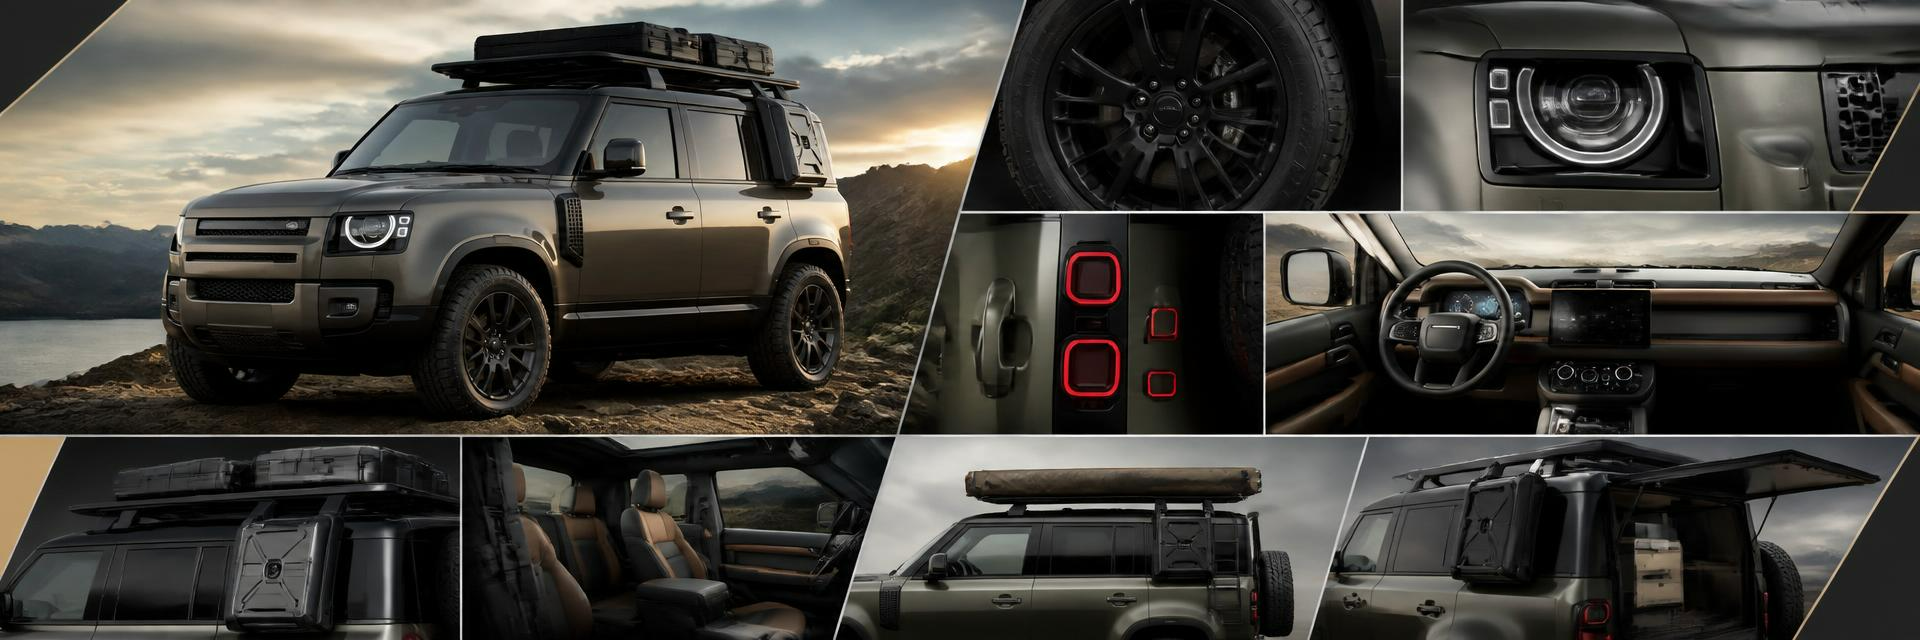
Land Rover Defender accessories collage showcasing roof racks, canopies, wheels, lighting and interior upgrades — from www.defender-accessories.com

Long-Form Guides Written for People Who Actually Fit Parts

There is a great deal of Defender content online and very little of it is written by anyone who has lain under one. These feature articles are the opposite. Each one takes a single decision an owner faces and works through it properly: what the vehicle already does well, where the factory specification runs out, what the aftermarket offers, what it costs in weight, payload, fuel and warranty, and how to tell a well-engineered part from one that merely looks the part. We cover suspension and the compromises air springs impose, roof loading and the difference between static and dynamic ratings, auxiliary electrics and why the Defender's smart alternator changes how you charge a second battery, tyre choice for owners who spend most weeks on tarmac, and the recovery equipment worth carrying versus the equipment sold on fear. The articles are long because the subjects are genuinely detailed, and they are updated when model-year changes make older advice wrong. Nothing here is a rewritten press release. Where we recommend a product we say why, and where we think the factory item is already the right answer we say that too.

/// WHY WE BACK THE DEFENDER

LAND ROVER DEFENDER: Impressive, Capable, and Ready to Upgrade

LAND ROVER DEFENDER vehicles are among the most impressive and exciting Dual-Cabs to enter the Off-Roading market in years, combining cutting-edge electric drivetrain technology with the practical proportions and rugged character that drivers genuinely need. From the first glance, the Defender commands attention. Its bold front fascia, muscular wheel arches, and confident stance give it a presence on the road that is equal parts modern sophistication and tough utility. Whether you are navigating morning traffic in the suburbs, hauling materials to a construction site, or pointing the nose toward a remote desert track, the LAND ROVER DEFENDER feels like it was engineered for the moment.

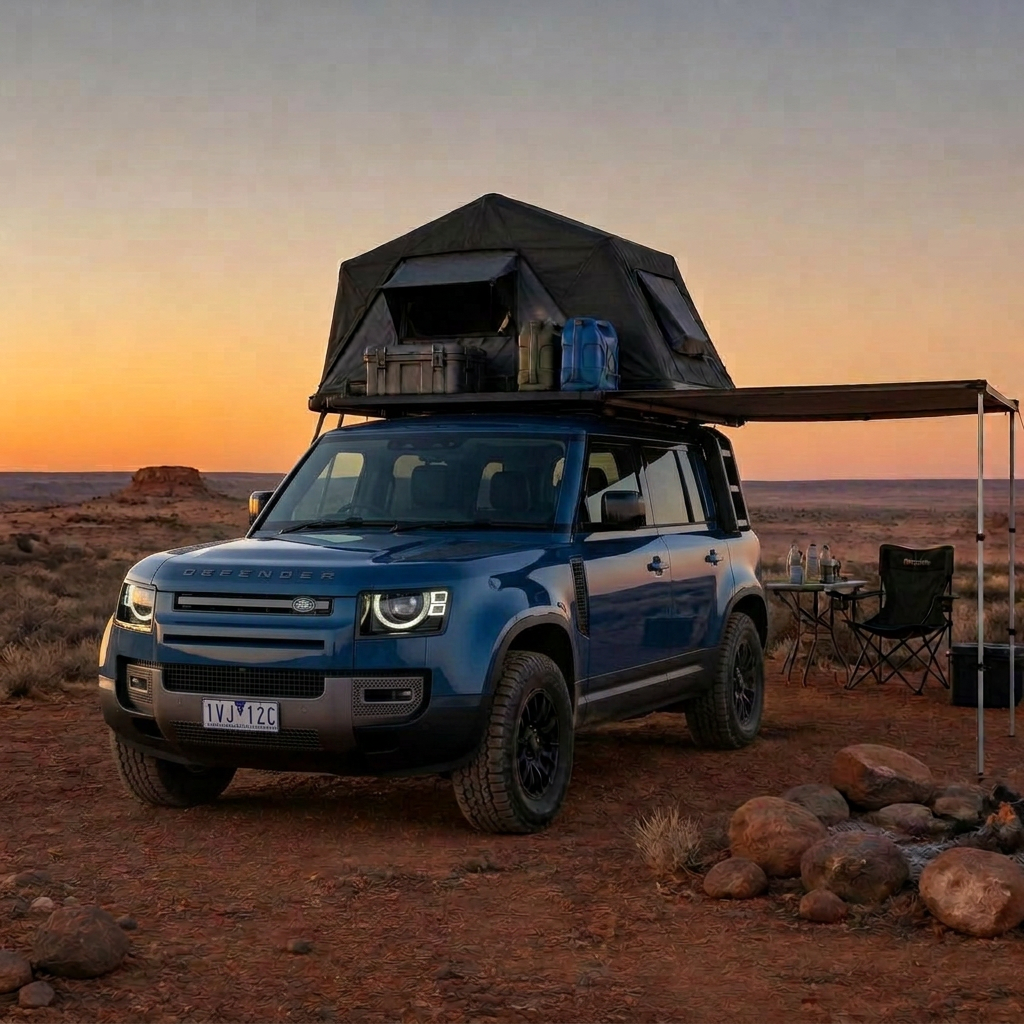
Land Rover Defender full overland build on remote track – Land Rover Defender accessories showcase from www.defender-accessories.com

The real magic of the LAND ROVER DEFENDER, however, lies in how easily it can be transformed through modification and accessories. This is a vehicle that welcomes personalisation. Unlike some platforms where aftermarket support is limited or poorly fitted, the Defender has quickly attracted a dedicated ecosystem of genuine and aftermarket accessories designed to integrate cleanly with its body lines, electrical architecture, and structural mounting points. Owners can upgrade their Defender with confidence, knowing that every component they add is purpose-built for the platform.

Red Land Rover Defender in Dubai with city skyscrapers in the background – Land Rover Defender accessories showcase from www.defender-accessories.com

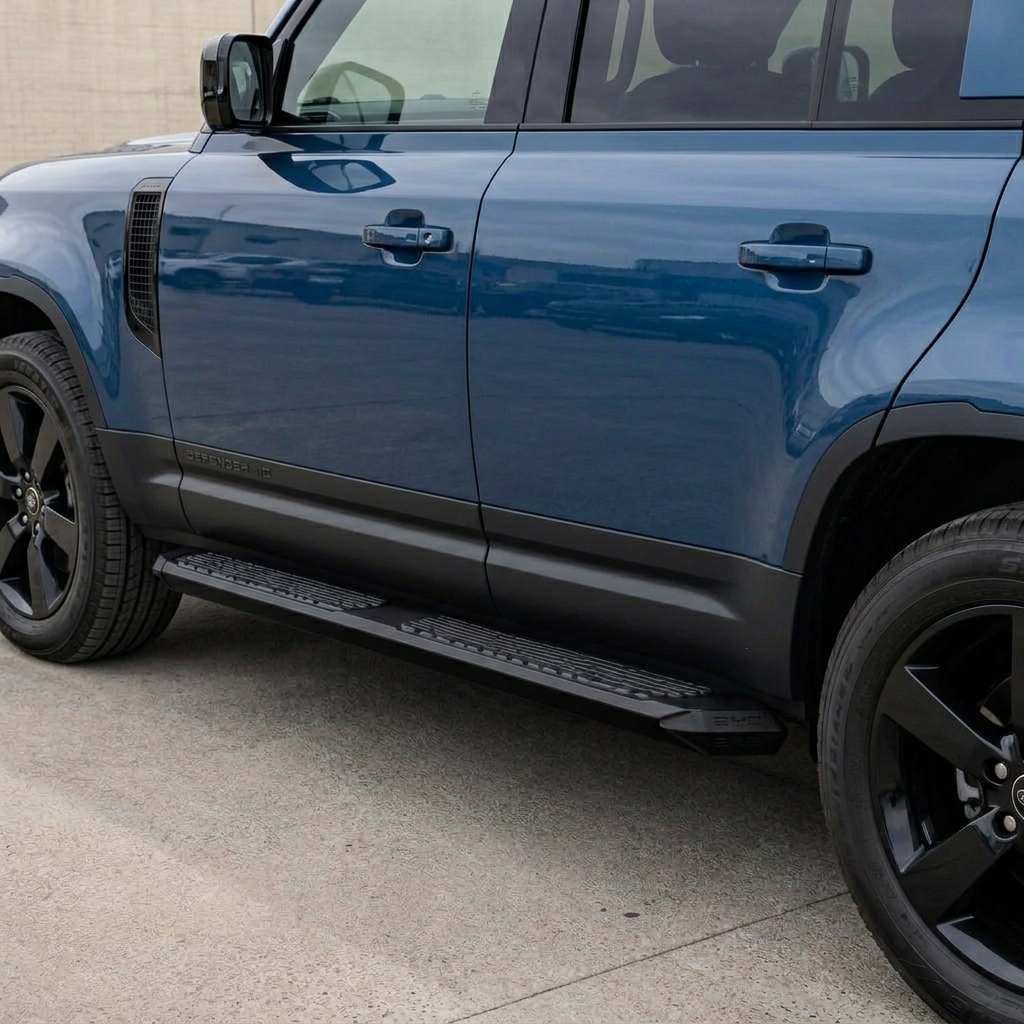
One of the most immediately rewarding upgrades any LAND ROVER DEFENDER owner can make is a quality set of side steps. The Defender sits high on its suspension, giving it excellent approach, departure, and breakover angles for off-road work. That height is a real advantage in the bush, but it can also make climbing in and out of the cabin more difficult, especially for children, older passengers, or anyone carrying gear. Electric side steps deploy automatically when the door opens and tuck away neatly when not needed, preserving ground clearance while adding a premium feel. Fixed side steps offer a more affordable and durable alternative, with wide tread plates that improve access and a strong steel construction that can take a knock on the trail. Either way, side steps add both practicality and a tougher, more planted visual stance.

Land Rover Defender with electric side steps deployed – Land Rover Defender accessories showcase from www.defender-accessories.com

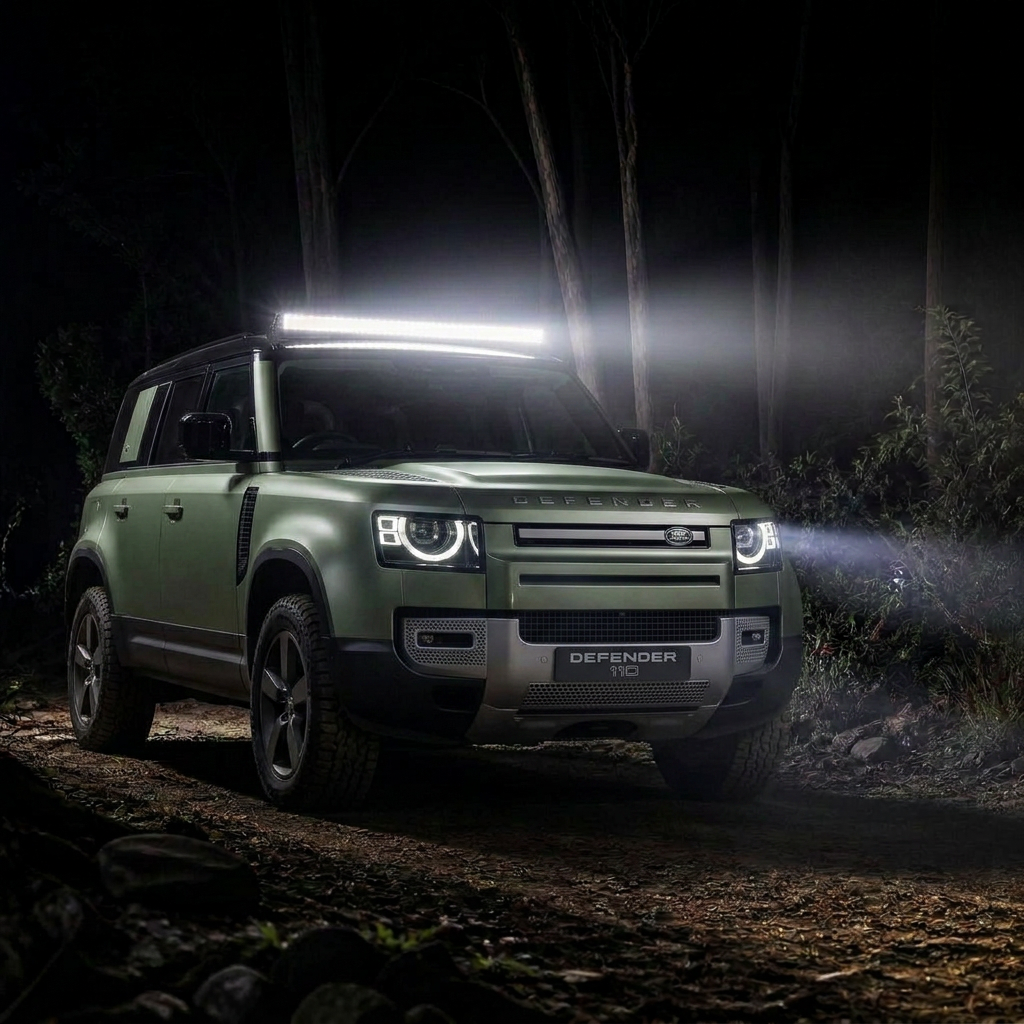
Lighting upgrades are another category where the LAND ROVER DEFENDER truly shines. Factory headlights are fine for normal road use, but the real world often demands more. Spotlights and flood lights extend the driver's ability to see and be seen in low-visibility conditions. A powerful LED light bar mounted on the roof or bull bar turns a dark bush track into a clearly visible path, helping to identify kangaroos, cattle, fallen branches, and washouts before they become hazards. Flood lights mounted lower or to the sides are perfect for illuminating a worksite, setting up camp at night, or reversing safely in tight areas. Modern LED driving lights are also surprisingly efficient, drawing little power while producing enormous output, which suits the Defender's electrical platform perfectly.

Land Rover Defender with roof-mounted LED light bar – Land Rover Defender accessories showcase from www.defender-accessories.com

Protection upgrades are not optional for anyone planning to use their LAND ROVER DEFENDER in rough terrain. Body armour, panel guards, and underbody protection shield the vulnerable areas of the vehicle from the impacts, scrapes, and flying stones that come with real Australian driving. Rock sliders protect the sills and lower doors on tight tracks. Door and quarter panel guards preserve the paint from branch scrapes and car-park dings. Underbody protection covers the battery, drivetrain, and critical lines from the stones and ruts that can cause serious damage on gravel roads. For a tradie, this protection means the vehicle still looks professional after years of job-site use. For an adventurer, it means the confidence to explore tracks that would otherwise be off-limits.

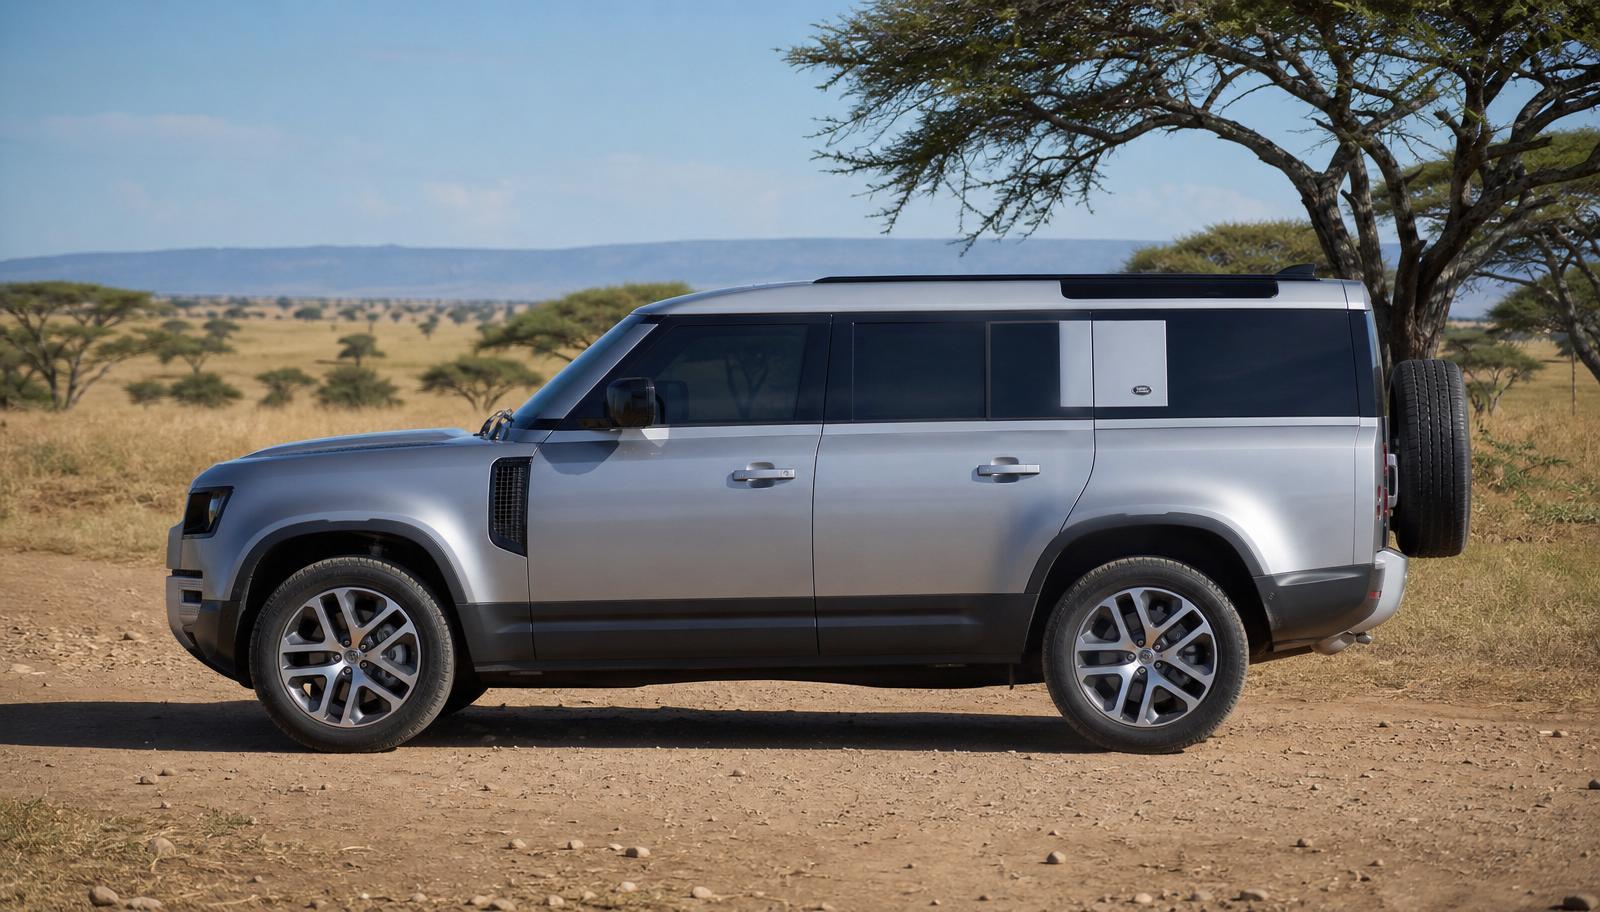
Silver Land Rover Defender 130 in South Africa – Land Rover Defender accessories showcase from www.defender-accessories.com

A canopy is one of the single most transformative accessories for the LAND ROVER DEFENDER. The tray is already large and practical, but a canopy turns it into a secure, weatherproof, and highly organised storage space. For tradies, that means lockable tool storage, protected from rain and theft, with internal shelving and drawers that keep everything in its place. For campers and tourers, it means a protected area for swags, fridges, recovery gear, and kitchen equipment. Many canopies include side windows, roof racks, and mounting channels for awnings, rooftop tents, and solar panels, making the Defender a true basecamp vehicle. The best part is that a well-designed canopy looks like it belongs on the vehicle, completing the profile rather than looking like an afterthought.

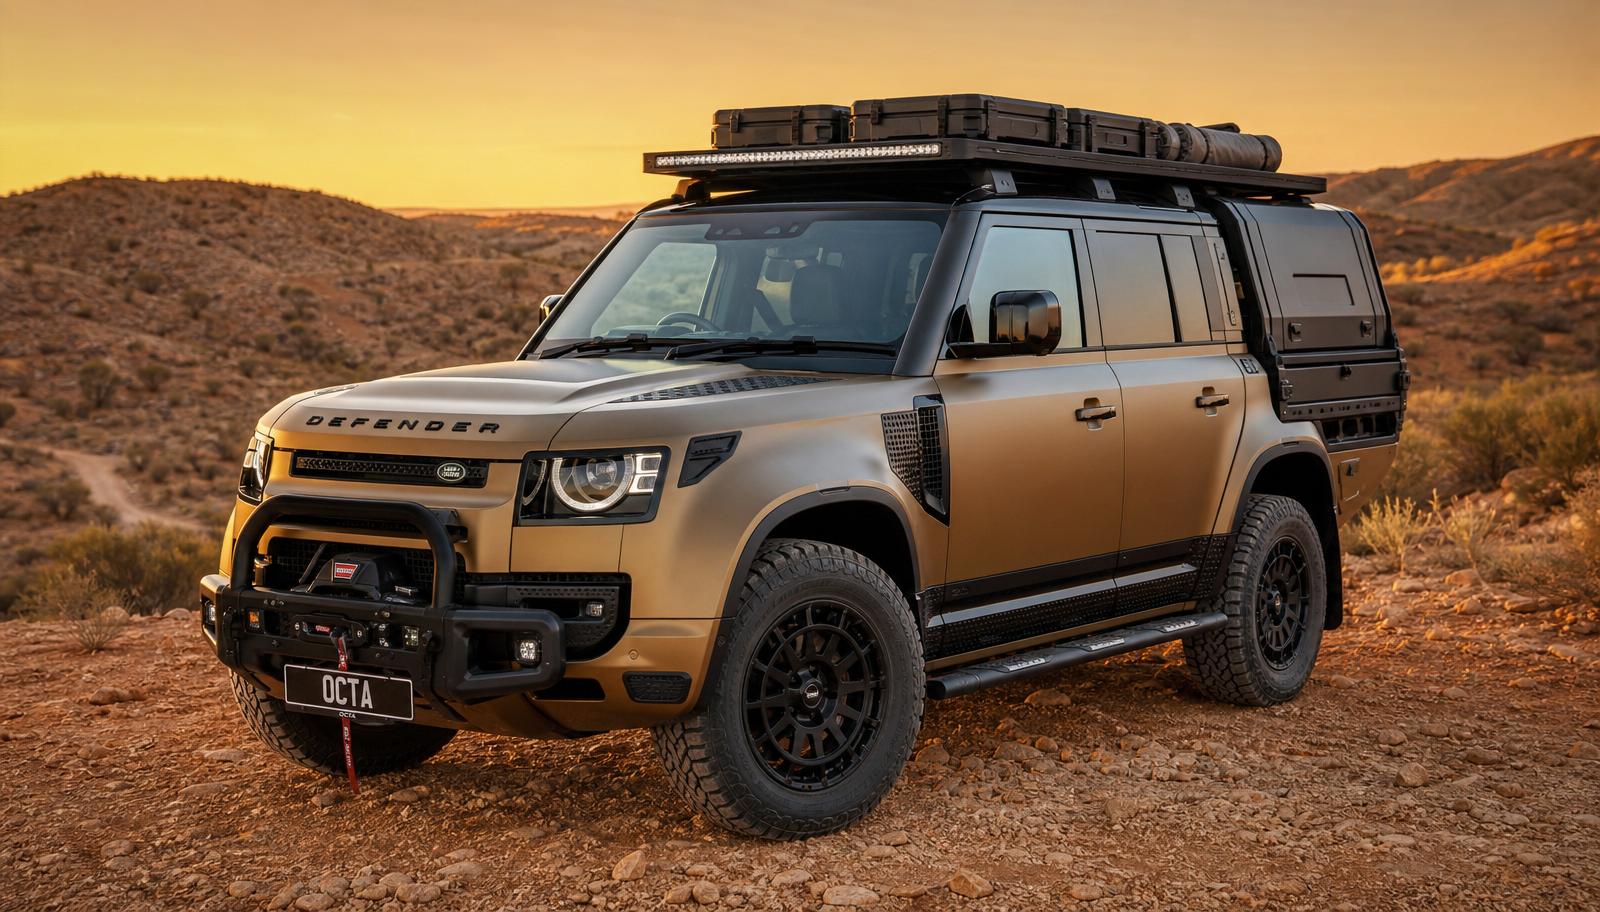
Bronze matte Land Rover Defender OCTA Sports with accessories fitted – Land Rover Defender accessories showcase from www.defender-accessories.com

Bull bars and nudge bars give the LAND ROVER DEFENDER a tougher face and a practical layer of frontal protection. In rural Australia, animal strikes are a genuine risk, and a properly engineered bull bar can absorb impact and protect the radiator, headlights, and bodywork. Beyond protection, a bull bar provides the ideal mounting point for winches, driving lights, and radio antennas. It also gives the Defender a more commanding presence that matches its capability. For drivers who spend time on remote highways or in the scrub, this upgrade is as sensible as it is stylish.

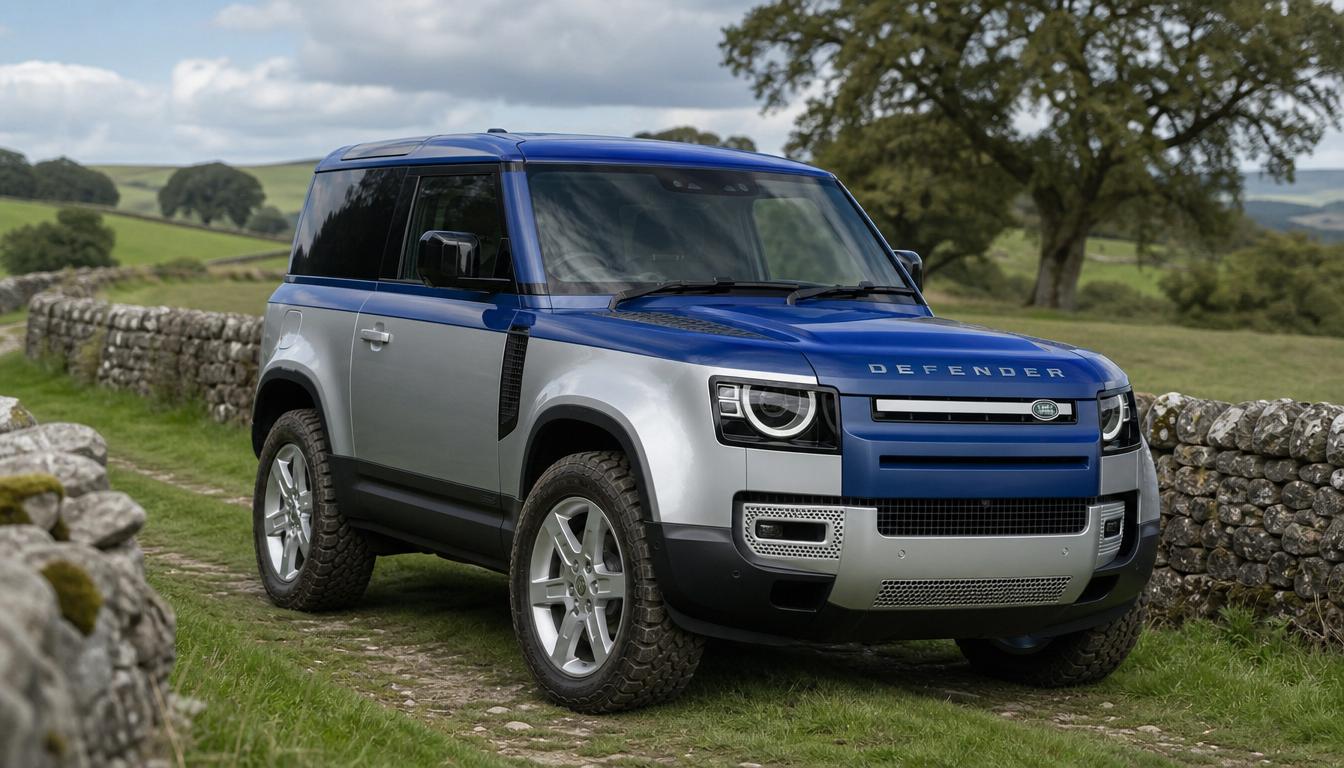
New 2026 Land Rover Defender 90 in British England countryside with blue top and silver bottom two-tone paint – Land Rover Defender accessories showcase from www.defender-accessories.com

Roof racks and roof platforms multiply the carrying capacity of the LAND ROVER DEFENDER in ways that every tourer appreciates. The factory roof is strong, but a dedicated rack or platform allows the safe mounting of rooftop tents, jerry cans, solar panels, shovels, recovery boards, surfboards, and extra luggage. For a family road trip or a solo expedition, the ability to carry bulky gear above the canopy while keeping the tray free for tools, fridges, and supplies is a game changer. When paired with a quality canopy, the Defender becomes a genuinely self-sufficient touring vehicle.

Land Rover Defender OCTA on a race track – Land Rover Defender accessories showcase from www.defender-accessories.com

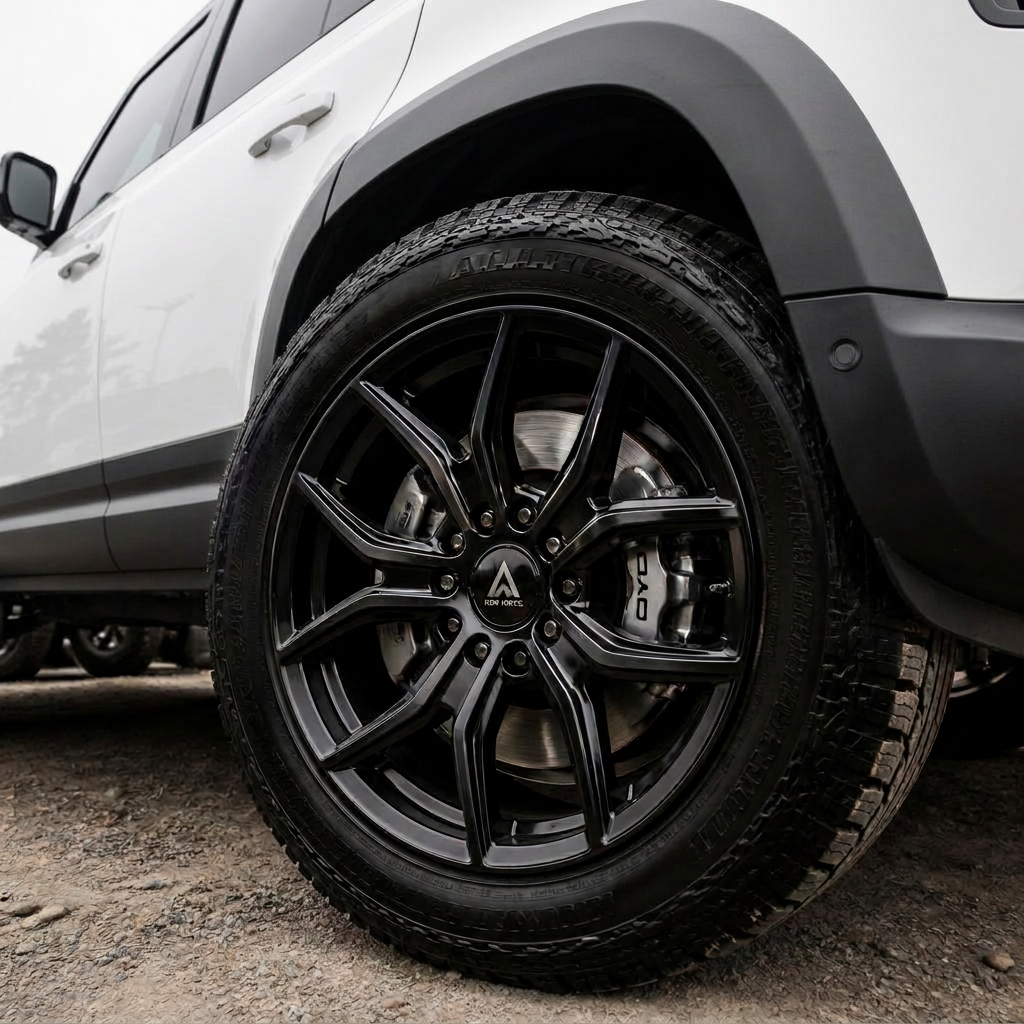
Wheels and tyres are where the visual personality of the LAND ROVER DEFENDER can be dialled up dramatically. The factory wheels are clean and modern, but a set of aftermarket alloy wheels in a dark or machined finish can give the Defender a more aggressive, motorsport-inspired presence. Pair those wheels with a set of all-terrain or mud-terrain tyres and the vehicle is not only tougher to look at but also far more capable in the loose, slippery, or uneven surfaces that make up so much of Australia's rural road network. The right wheel and tyre package can improve traction, puncture resistance, and ride comfort across the variety of conditions drivers encounter.

Land Rover Defender with aftermarket alloy wheels – Land Rover Defender accessories showcase from www.defender-accessories.com

Suspension and lift upgrades take the capability further. A modest suspension lift can increase ground clearance, improve approach and departure angles, and allow the Defender to carry heavier loads without sagging. For drivers who tow caravans, boats, or trailers, upgraded suspension can also improve stability and control. The key is choosing a kit that is properly engineered for the Defender's weight distribution and hybrid architecture, so ride quality and safety remain intact. When combined with the right tyres, protection, and storage, a lifted Defender can handle serious expedition travel.

2026 Land Rover Defender 130 in gold bronze matte finish – Land Rover Defender accessories showcase from www.defender-accessories.com

Interior upgrades are often overlooked, but they make a huge difference to daily ownership. Premium all-weather floor mats protect the carpet from mud, sand, and worksite grime, while seat covers preserve the upholstery from wear, UV exposure, and the occasional coffee spill. Dash organisers, phone mounts, and centre-console storage solutions help keep the cabin tidy and functional. For a vehicle that will be used as both a family car and a work truck, these small touches make the cabin feel better equipped for every role. The Defender's interior is already high-tech and comfortable; the right accessories make it feel like it was custom built for the owner.

Land Rover Defender OCTA V8 Supercharged luxury interior – Land Rover Defender accessories showcase from www.defender-accessories.com

The LAND ROVER DEFENDER is a Powerful and Torque Vehicle that does not compromise on toughness. Its Multi Option drivetrain delivers instant torque and smooth power delivery, which is exactly what you want when climbing a rocky hill or pulling away on loose sand. The quiet cabin is a revelation on long-distance touring, reducing fatigue and making it easier to hold a conversation. The low centre of gravity, provided by the battery pack, gives the Defender surprising stability and composure both on the highway and on uneven tracks. For a vehicle that is also efficient and environmentally conscious, these performance characteristics are genuinely impressive.

2026 Land Rover Defender 110 on a cobblestone driveway in Europe with a luxury mansion in the background – Land Rover Defender accessories showcase from www.defender-accessories.com

For all conditions, the LAND ROVER DEFENDER makes a strong case. The country is huge, the distances are long, and the roads vary from smooth bitumen to corrugated gravel, deep sand, and muddy ruts. The Defender's range, efficiency, and reliability are valuable assets on a long outback crossing. Its air conditioning, comfortable seats, and advanced driver-assistance systems make it pleasant to live with on the highway. And its ability to accept a wide range of accessories means it can be configured for the specific demands of the Australian bush, whether that means a bull bar for animal strikes, a snorkel for water crossings, or a roof rack for extra fuel and water.

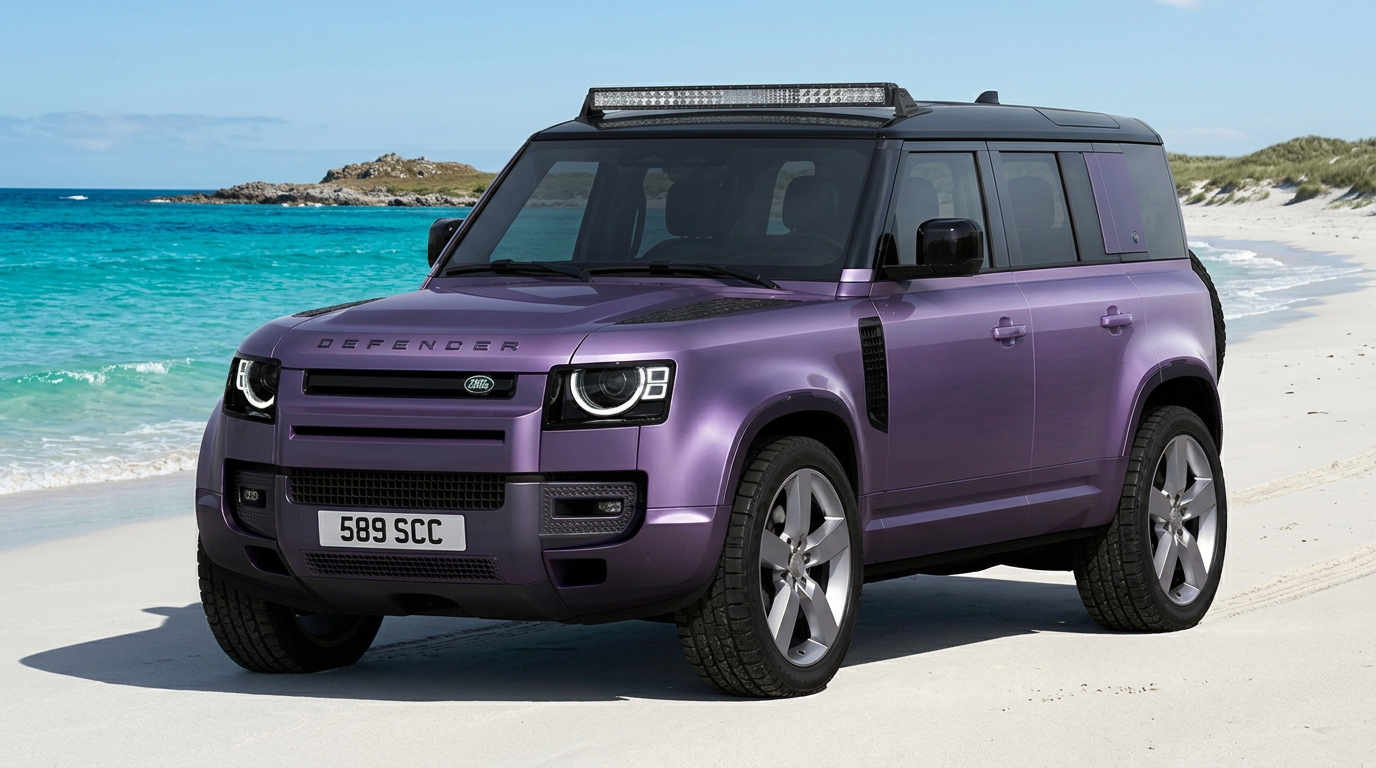
New 2026 Land Rover Defender with custom Purple Haze paint and silver wheels – Land Rover Defender accessories showcase from www.defender-accessories.com

Adventurers, tradies, and outback tourers all find something to love in the LAND ROVER DEFENDER. Adventurers appreciate the clean, quiet power and the ability to load the vehicle with camping and recovery gear. Tradies appreciate the practical tray, strong towing capacity, and low running costs. Outback tourers appreciate the long-range comfort, modern technology, and the ability to turn the vehicle into a self-contained expedition platform. The Defender is a blank canvas that can be adapted to almost any lifestyle.

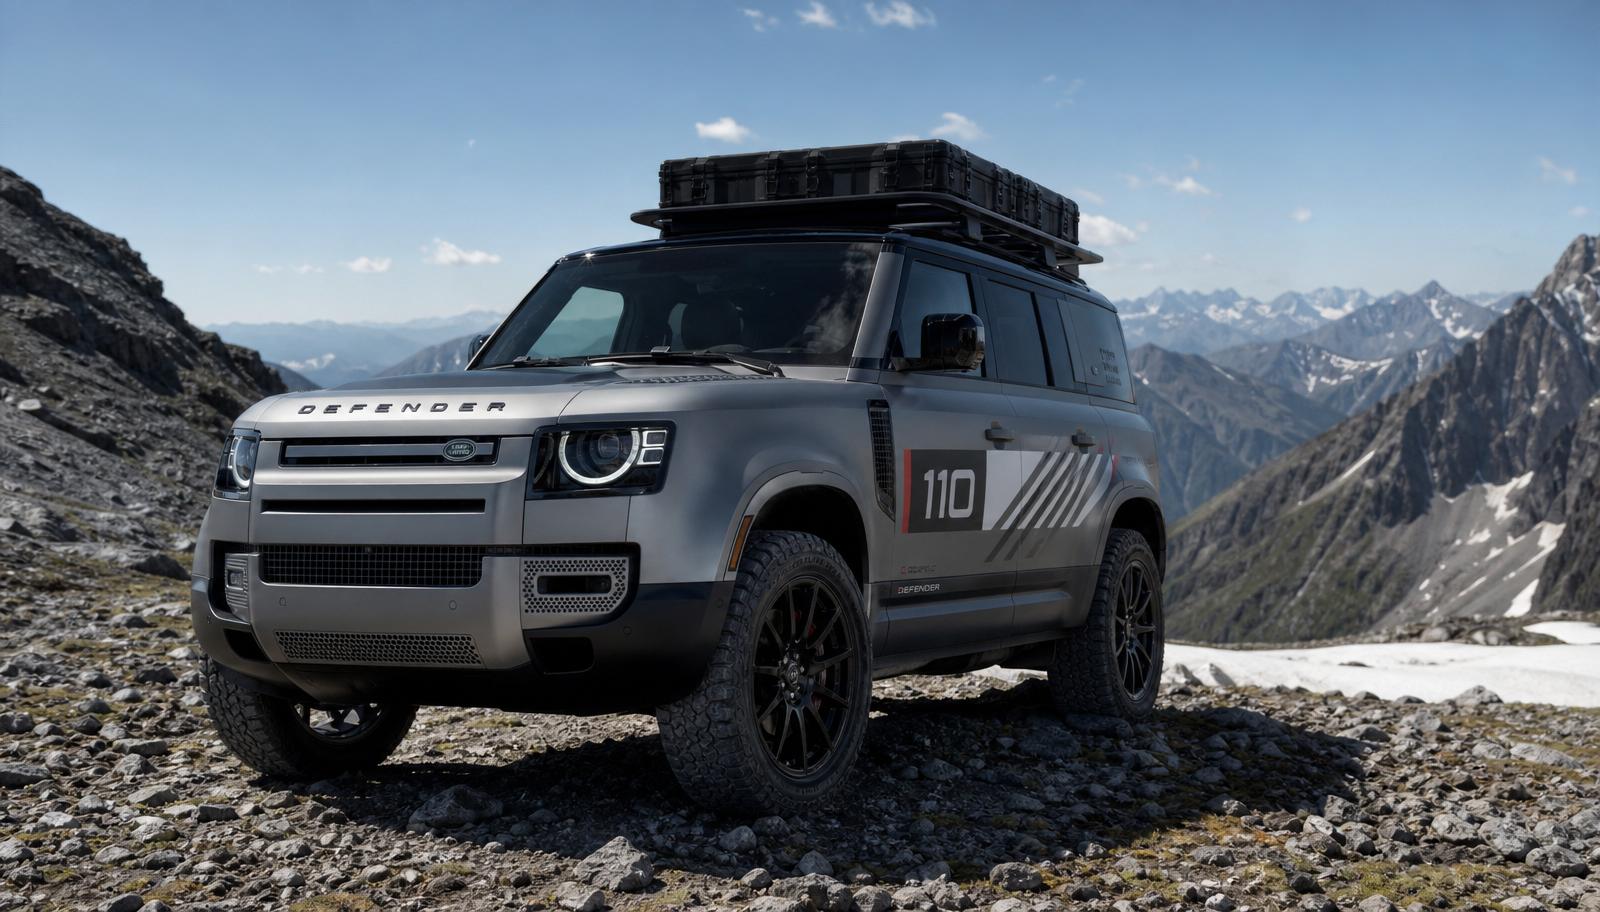
Matte silver wrapped Land Rover Defender with custom motorsport graphics, black wheels and roof rack on a mountain top – Land Rover Defender accessories showcase from www.defender-accessories.com

The range of genuine and aftermarket accessories available for the LAND ROVER DEFENDER is genuinely remarkable. Genuine Land Rover accessories offer the peace of mind of factory engineering, warranty backing, and perfect paint and finish matching. Aftermarket accessories open up a wider world of specialisation, innovation, and value. Together, they allow owners to build a vehicle that is unique to their needs. Whether the goal is to create a tough-looking street presence, a fully capable off-road explorer, or a professional work truck with all the practical details sorted, the Defender can deliver.

Land Rover Defender showcasing genuine and aftermarket accessory upgrades – Land Rover Defender accessories showcase from www.defender-accessories.com

Towing and recovery capability are also important considerations for LAND ROVER DEFENDER owners who plan to work or travel with heavy loads. A quality tow bar, electronic brake controller, and weight-distribution hitch allow the Defender to pull caravans, boats, horse floats, and trades trailers with confidence. Recovery points and rated shackles provide safe attachment when the going gets tough, and a winch mounted to a compatible bull bar can be the difference between a quick self-recovery and a long wait for help. These upgrades turn the Defender from a capable daily driver into a true support vehicle for any serious journey or job.

Land Rover Defender with winch-ready bullbar and recovery gear – Land Rover Defender accessories showcase from www.defender-accessories.com

Installing accessories on the LAND ROVER DEFENDER is generally straightforward thanks to the growing number of vehicle-specific mounting kits and plug-and-play wiring harnesses available. Many owners start with a few simple upgrades such as floor mats, weather shields, and side steps before moving on to larger projects like canopies, bull bars, and light bars. Professional fitment is recommended for structural and electrical modifications to ensure warranty, safety, and compliance are preserved, but the wide range of bolt-on options means that even newcomers to vehicle customisation can achieve a great result. Defender Accessories provides detailed fitment notes, technical support, and a curated catalogue of proven accessories to help every owner build their ideal Defender.

Land Rover Defender with bolt-on side step accessory installation – Land Rover Defender accessories showcase from www.defender-accessories.com

The growing community around the LAND ROVER DEFENDER is another reason the platform feels so rewarding to own. Online forums, social media groups, and dedicated retailers like Defender Accessories are constantly sharing build ideas, installation tips, and real-world trip reports. This community helps new owners avoid guesswork, discover proven combinations of accessories, and get inspired by how other people have configured their Defender for camping, towing, tradie work, or show-stopping street style. Owning a Defender is not just about driving

Land Rover Defender street-style build from the owner community – Land Rover Defender accessories showcase from www.defender-accessories.com

Investing in quality accessories for the LAND ROVER DEFENDER is also a smart financial decision. The right upgrades protect the original paint, trim, and mechanical components from wear, which helps maintain resale value over time. A well-accessorised Defender with a canopy, protection package, and lighting setup can also command greater buyer interest when it comes time to sell, because the next owner inherits a vehicle that is already configured for work or adventure. More importantly, the daily enjoyment and practical benefit of a thoughtfully upgraded Defender far outweigh the upfront cost, making every accessory a worthwhile addition to the ownership experience.

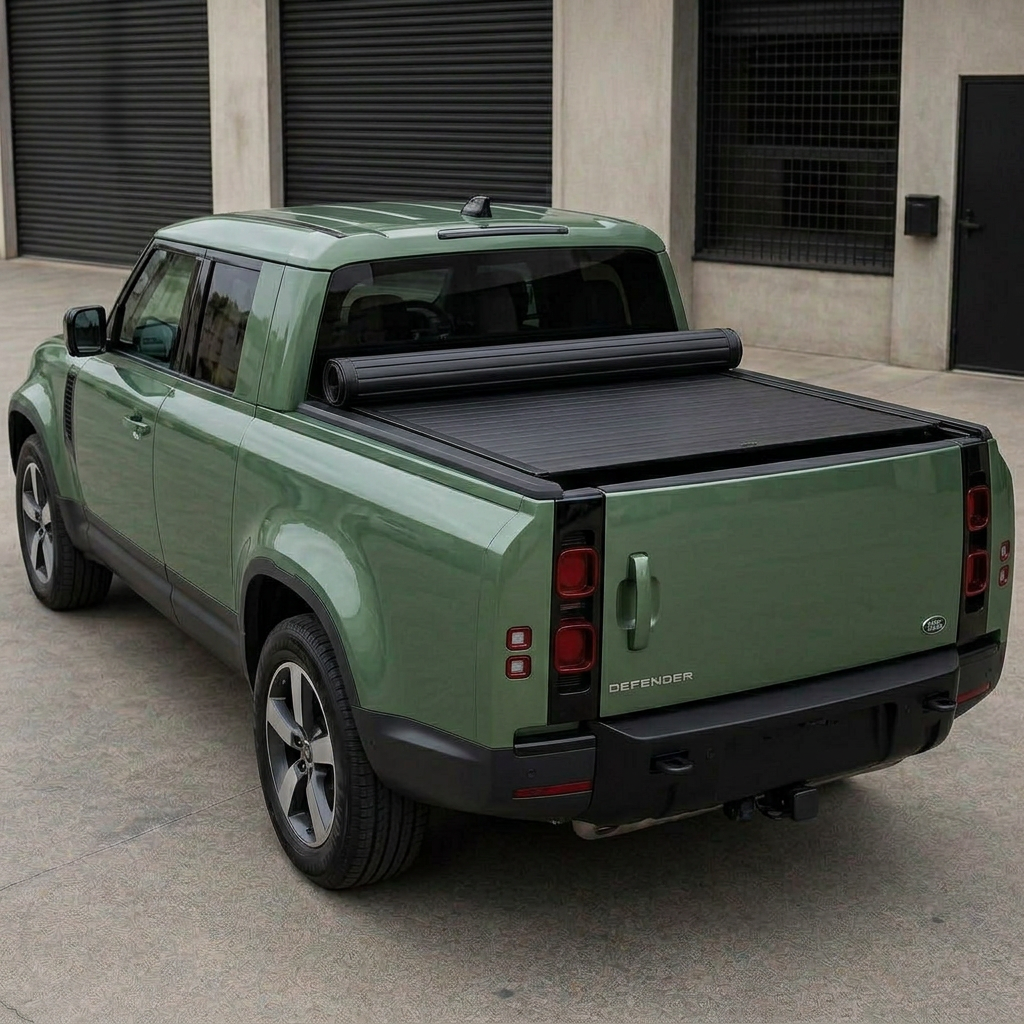
Land Rover Defender with electric roller shutter protecting the tub – Land Rover Defender accessories showcase from www.defender-accessories.com

Looking ahead, the LAND ROVER DEFENDER is positioned to become one of the defining vehicles of the next generation of ownership. It proves that efficiency and capability do not have to be mutually exclusive. It proves that Defender vehicle can be tough, practical, and ready for adventure. And it proves that the right accessories can turn a good vehicle into something truly special. With side steps for easier access, spotlights and flood lights for night vision and practical use, body armour and panel guards for protection, canopies for storage and camping, and a huge range of wheels, tyres, suspension, and interior upgrades, the LAND ROVER DEFENDER is ready for all challenges.

Land Rover Defender fully accessorised for Australian roads – Land Rover Defender accessories showcase from www.defender-accessories.com

In every form, from factory standard to a fully modified expedition build, the LAND ROVER DEFENDER remains an impressive and amazing vehicle. It is built for adventurer and outback touring. It is a vehicle that earns respect on the driveway, on the job site, and on the most remote tracks in the country. For anyone who wants a modern, capable, and endlessly upgradeable ute, the LAND ROVER DEFENDER is a platform that keeps delivering, and the accessories available today are only the beginning of what is possible.

Fully modified Land Rover Defender expedition build – Land Rover Defender accessories showcase from www.defender-accessories.com