Fitting 33-Inch and Larger Tyres to the L663 Defender: Clearances, Trimming, and Calibration
Want to fit 33-inch or larger tyres to your L663 Land Rover Defender? This comprehensive technical guide details the critical rubbing points—including the front intercooler brackets and rear wheel arch liners—required trimming steps, subframe spacer options, and software recalibration methods needed to run oversized rubber without sacrificing reliability or drivetrain geometry.
The L663 Arch Envelope and the 32-Inch Baseline
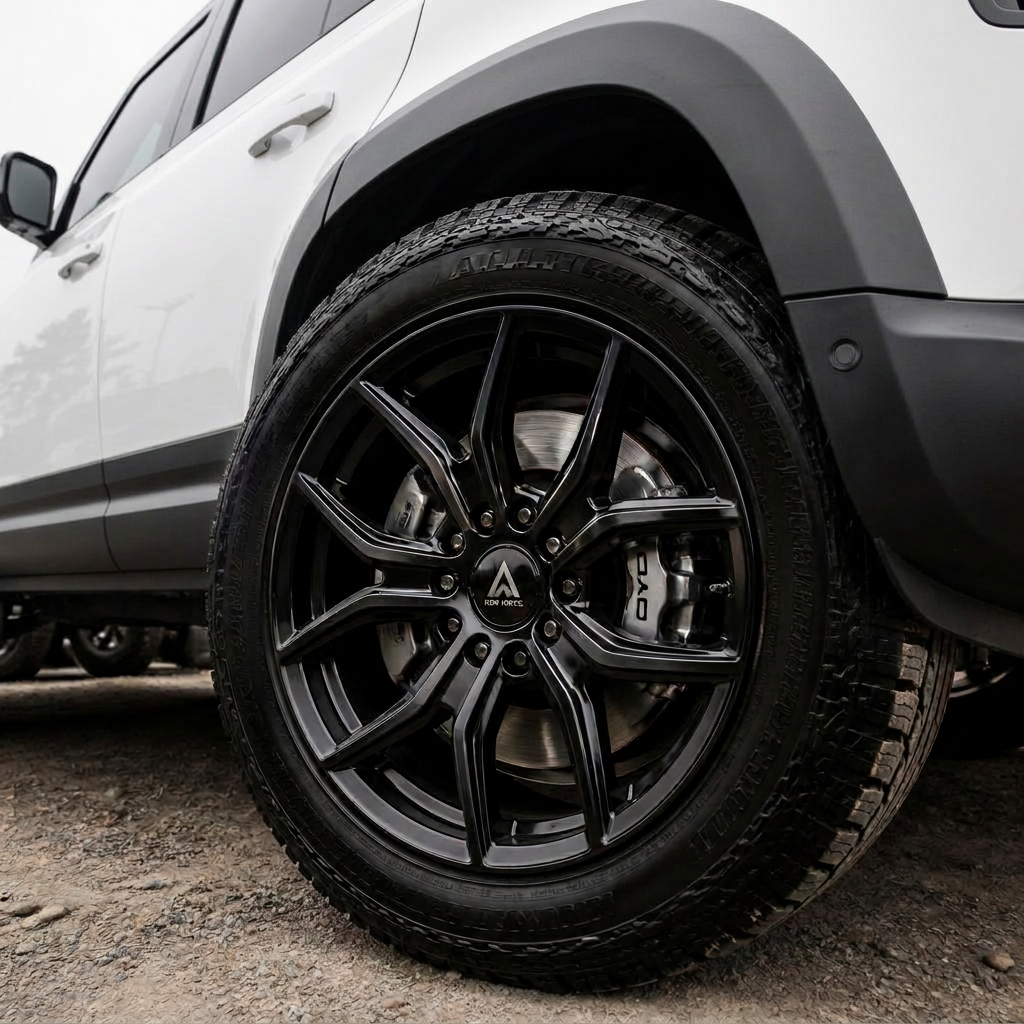
From the factory, the L663 Land Rover Defender (90, 110, and 130 variants) ships with tyres that measure approximately 32 inches in outer diameter. Standard fitments include 255/65R19 (32.1 inches) or 255/60R20 (32.0 inches). While these dimensions offer an excellent balance of on-road comfort, fuel efficiency, and mild off-road capability, they leave very little physical clearance within the wheel arches. The independent front and rear suspension assemblies, combined with the structural monocoque design, create a highly constrained space envelope that does not easily tolerate increases in tyre width or diameter.
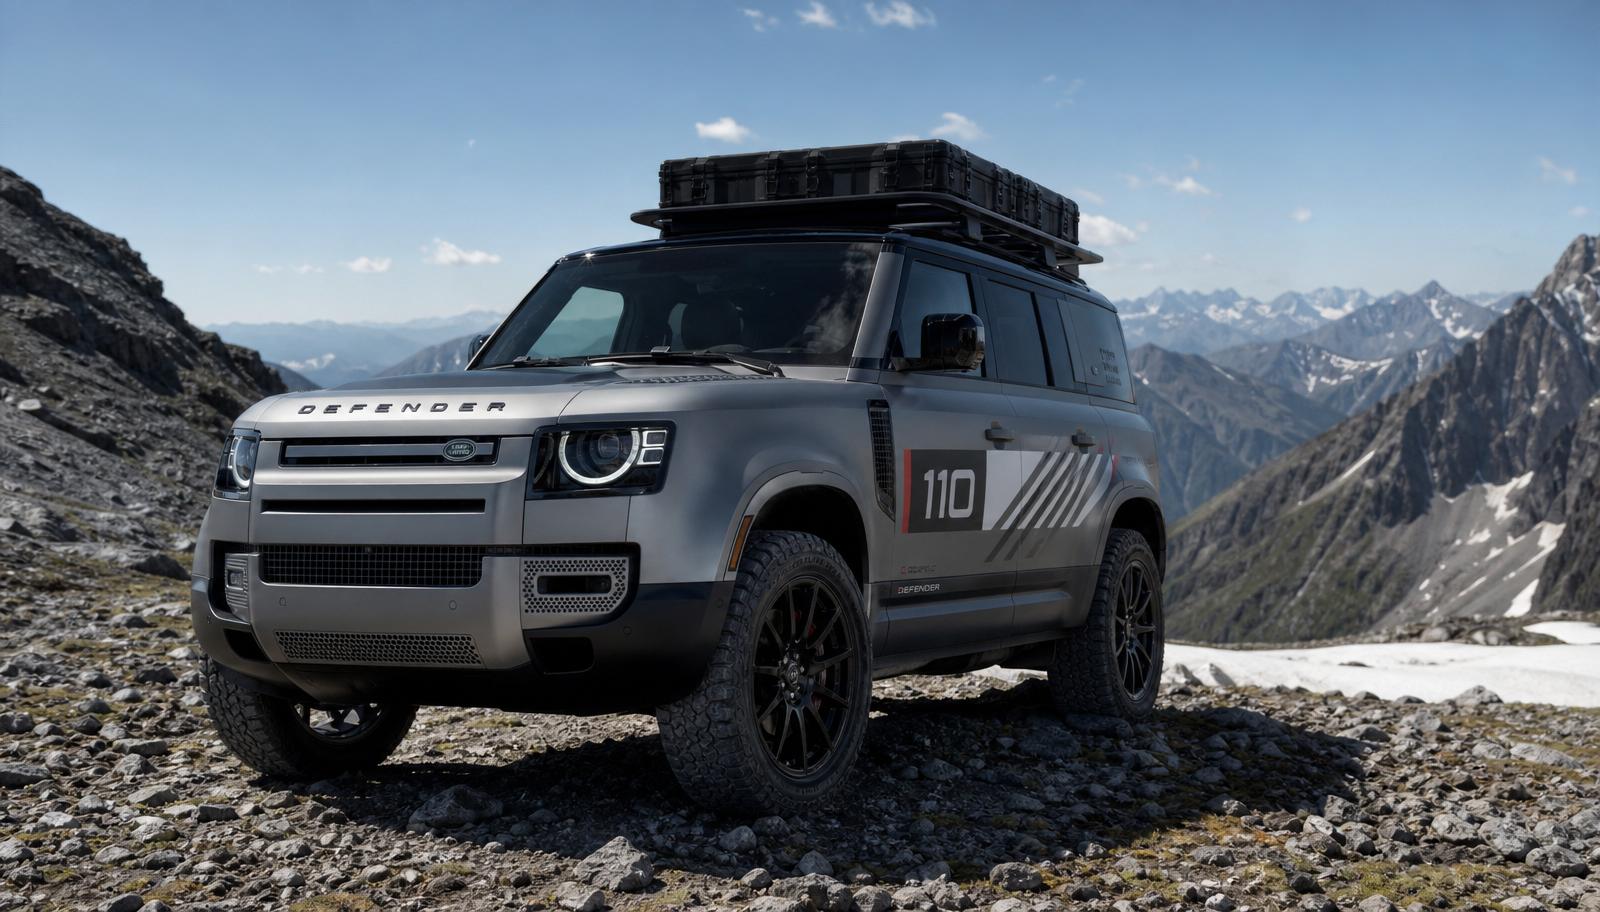
When planning to step up to a true 33-inch tyre (such as a 275/60R20 or 275/65R18) or a 34-inch tyre (such as a 275/65R20), you must account for how the wheel sweeps through its steering arc and compresses through its suspension travel. Increasing the tyre diameter alters the scrub radius—the distance between the steering axis steering ground projection and the center of the tyre contact patch. This change in scrub radius causes the tyre to swing in a wider arc, bringing the tread blocks into direct contact with the plastic wheel arch liners and structural components at both full steering lock and during moderate suspension compression.
Furthermore, width plays a critical role. A wider tyre, such as a 285/60R20 or 285/65R18, reduces the clearance between the inner sidewall and the front upper control arm knuckle assembly. On L663 models, the clearance between the factory upper control arm and the tyre sidewall is less than 15mm with stock offsets. Moving to a wider tyre without changing wheel offset can result in sidewall-to-suspension contact under cornering loads, while using aggressive wheel spacers to push the tyre outward only exacerbates rubbing issues on the outer body plastics.
The Front Arch Bottleneck: Intercooler Brackets and Shrouds
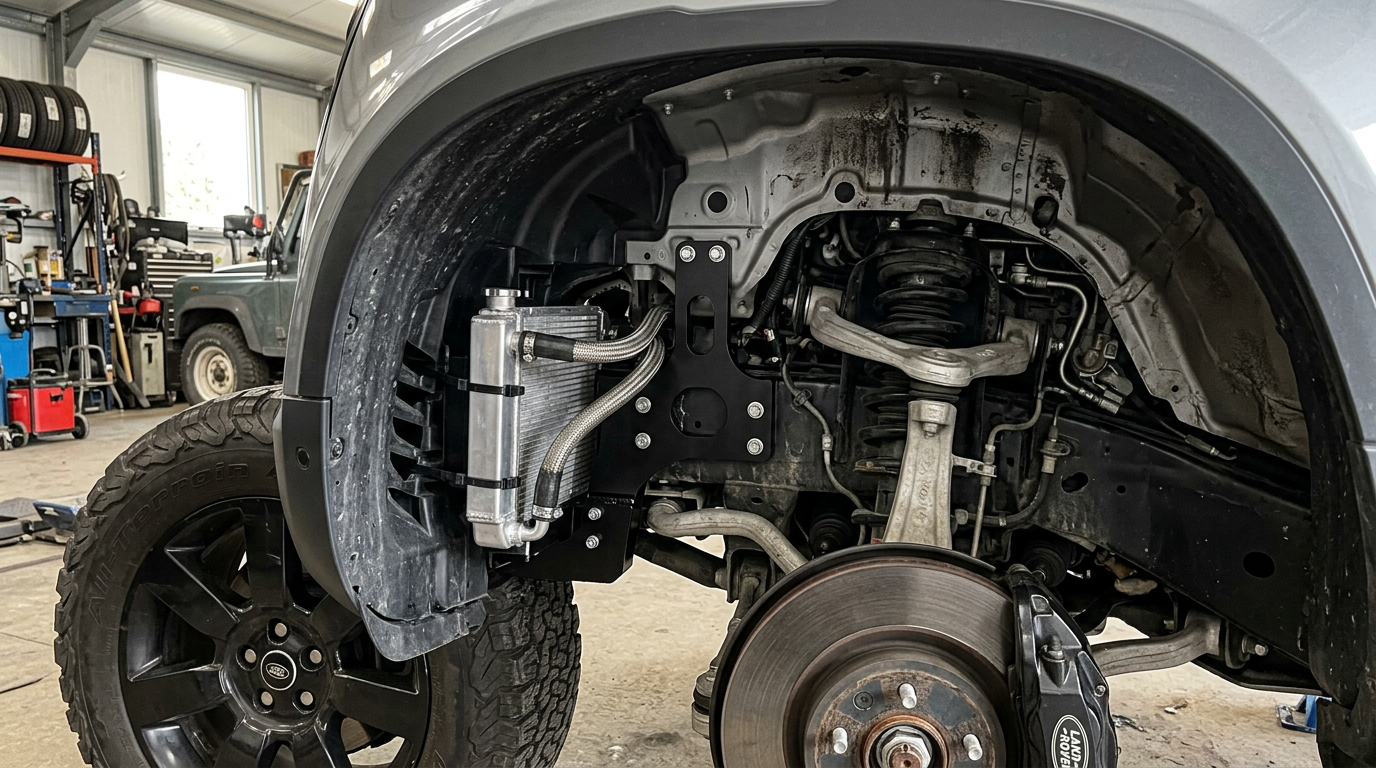
The primary mechanical obstruction when fitting larger tyres to the front axle of an L663 Defender is the auxiliary cooling package. On Ingenium petrol and diesel models (P300, P400, D250, D300), Land Rover positioned auxiliary cooling radiators behind the lower front bumper corners, directly ahead of the front tyres. These coolers are protected by plastic shrouds and supported by stout metal brackets. When installing tyres larger than 32.5 inches, the outer shoulder of the tyre tread will heavily rub against these cooling vents and brackets at approximately half-lock.
To resolve this front arch bottleneck, you must perform an intercooler bracket modification. This process involves removing the front wheel arch liners to access the structural cooler mounts. Specialized aftermarket relocation brackets must be installed to pull the entire cooling matrix forward by approximately 15mm to 20mm. This adjustment must be done carefully to ensure that the cooling hoses are not kinked, under tension, or allowed to rub against the chassis or bumper structure.
Once the coolers are relocated forward, the plastic wheel arch liners must be modified to match the new position. This is achieved by carefully trimming the lower front section of the liner or using a heat gun to gently warm and reform the plastic, pushing it forward into the newly created space behind the bumper. If you retain the factory mudflaps, they must also be addressed; the mudflap mounting brackets sit at the rear of the front wheel arch and represent another major contact point that must be trimmed, modified, or completely removed to clear tyres over 33 inches.
Rear Wheel Arch Clearances and Outer Trim Modifications
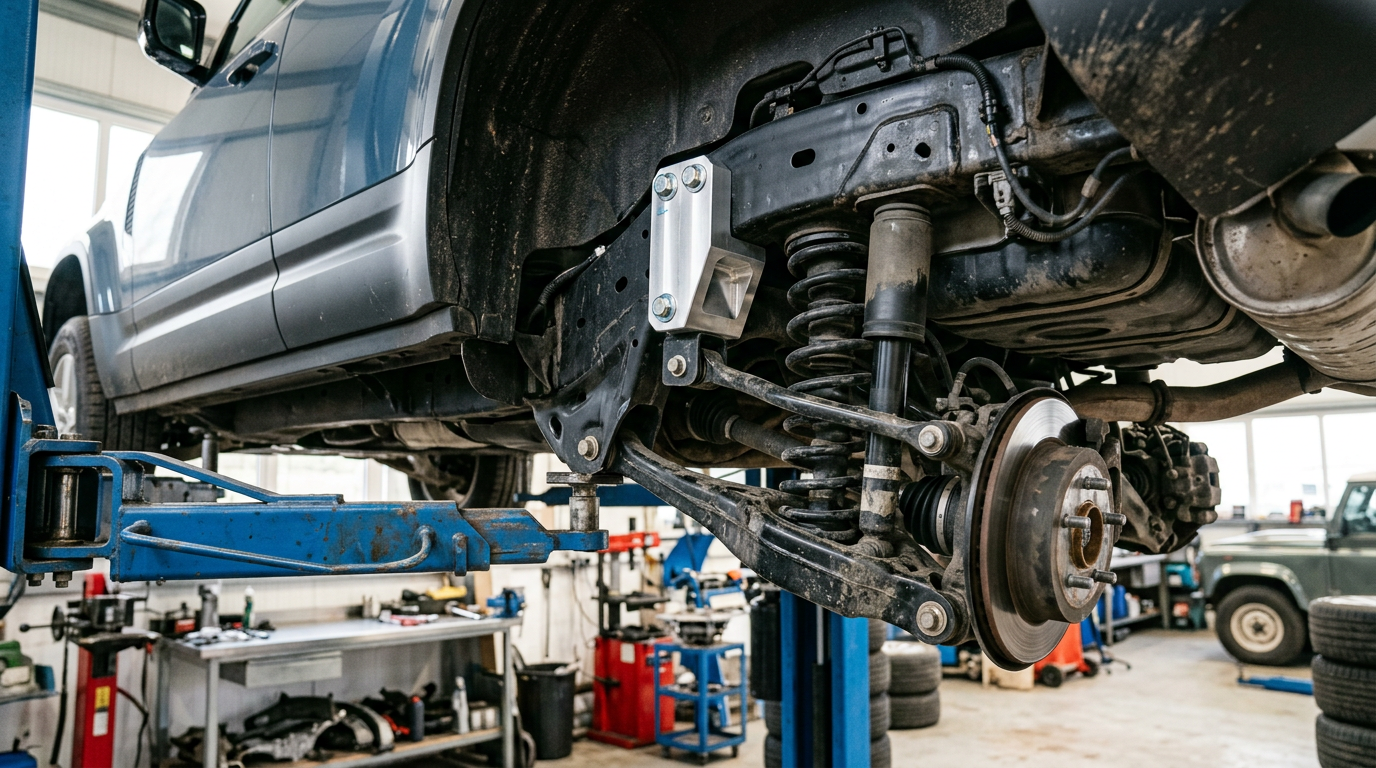
At the rear of the L663, the clearance challenges differ from the front because there is no steering sweep to accommodate. However, the suspension layout—featuring an integral link setup with cast aluminium knuckles—creates physical boundaries under heavy compression. When fitting tyres that exceed 33 inches, the primary contact point at the rear is the inner wheel arch liner where it covers the structural seam of the unibody and the outer plastic wheel arch trim.
Under full suspension compression (bump stop engagement), a 33.5-inch or 34-inch tyre will make contact with the upper portion of the plastic wheel arch trim. This trim contains internal plastic mounting tabs that secure it to the aluminium body panels. To prevent the tyre from grabbing these tabs and tearing the trim off the vehicle during off-road articulation, you must trim the internal plastic lips. This requires removing the outer flare trim, carefully cutting back the inner horizontal plastic lip with a utility knife or rotary tool, and reinstalling it using heavy-duty adhesive tape or modified clips.
For tyres extending past 34 inches, you may also need to modify the rear metal body seam that sits directly behind the plastic liner. This involves carefully flattening the sheet metal pinch weld using a body hammer to gain an extra 5-8mm of clearance. Any exposed metal must be sealed with a high-quality zinc-rich primer and automotive seam sealer to prevent corrosion before reinstalling the modified plastic liner.
The Role of Subframe Spacers versus Electronic Lift Rods
A common misconception among L663 owners is that installing electronic lift rods (which trick the air suspension system into riding higher) solved tyre clearance issues. While lift rods do increase the static ride height, they do not alter the physical bump stops or the absolute bottom-out point of the suspension. If an air spring deflates due to a system fault, or if the vehicle undergoes a hard compression event off-road, the suspension will still compress to its absolute mechanical limit. If the tyre size is too large to fit within the physical wheel arch at full compression, the tyre will lock up against the bodywork, disabling the vehicle.
To safely run 34-inch or larger tyres, you must implement a physical lift that addresses the mechanical suspension limits. This is achieved through the use of subframe spacer kits. These kits consist of precision-machined polyurethane or billet aluminium blocks (typically 1 to 1.5 inches thick) that are installed between the vehicle's monocoque chassis and the front and rear subframes. By physically lowering the subframes relative to the body, you lower the wheel centers relative to the tightest points of the wheel arches.
Installing subframe spacers requires dropping the front and rear subframe assemblies, which involves disconnecting steering shafts, brake lines, and electrical harnesses. This is a highly technical DIY task that requires proper jack stands, a transmission jack, and strict adherence to factory torque specifications for all subframe mounting bolts. Because this modification keeps the suspension geometry (including control arm angles and CV joint angles) closer to their optimal design parameters compared to an extreme electronic lift, it preserves CV boot life and maintains proper wheel alignment parameters.
Recalibrating the EVA 2.0 Electronics for Larger Diameters
The L663 Defender is built on Land Rover's EVA 2.0 (Electronic Vehicle Architecture) platform, a highly integrated network of ECUs that constantly monitor wheel speed, vehicle velocity, and driveline slip. When you install tyres that are 3% to 6% larger in diameter than stock, the actual vehicle speed will be higher than the speed calculated by the wheel speed sensors. This discrepancy directly impacts several key systems, including the speedometer, odometer, adaptive cruise control, lane-keep assist, and the Terrain Response 2 traction control algorithms.
To correct these discrepancies, you must edit the vehicle's Car Configuration File (CCF). This cannot be done through standard OBDII code readers; it requires an advanced diagnostic interface capable of writing directly to the L663's gateway modules, such as a Gap Diagnostic IIDTool (G3) or an approved J2534 pass-through device running pathfinder-equivalent software. Within the CCF, you must locate the tyre parameter settings and manually input the actual rolling circumference of your new tyres in millimeters, or select the closest corresponding factory tyre size dimension programmed into the software.
Properly updating the CCF ensures that the ABS module accurately calculates slip thresholds, preventing premature or intrusive stability control intervention during cornering or off-road driving. It also recalibrates the speedometer to display the true velocity, keeps the odometer accurate, and ensures that the transmission shift points—which rely on engine load, throttle position, and calculated vehicle speed—remain smooth and efficient rather than holding gears unnecessarily long due to the taller effective final drive ratio.