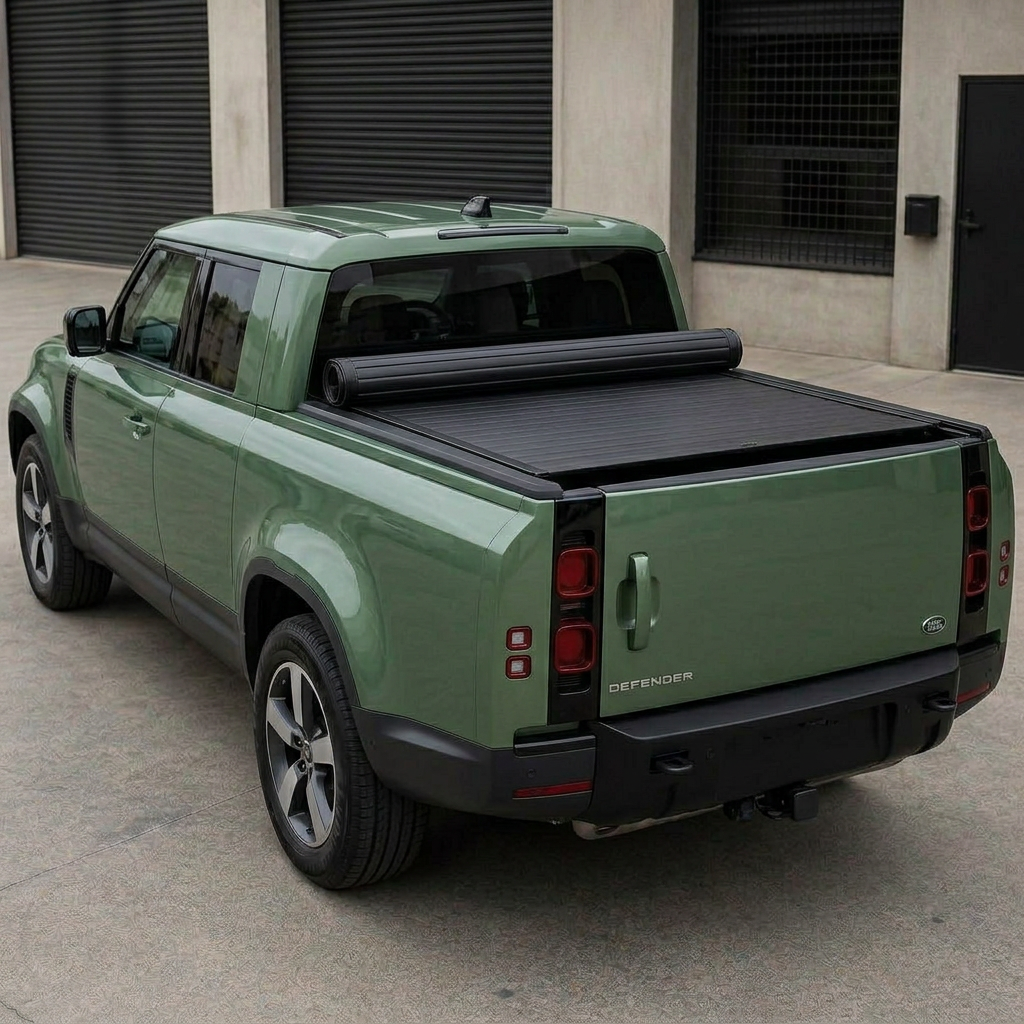
Fitting 18-Inch Wheels to Big-Brake L663 Defenders: Caliper Swaps, Grinding, and Offsets
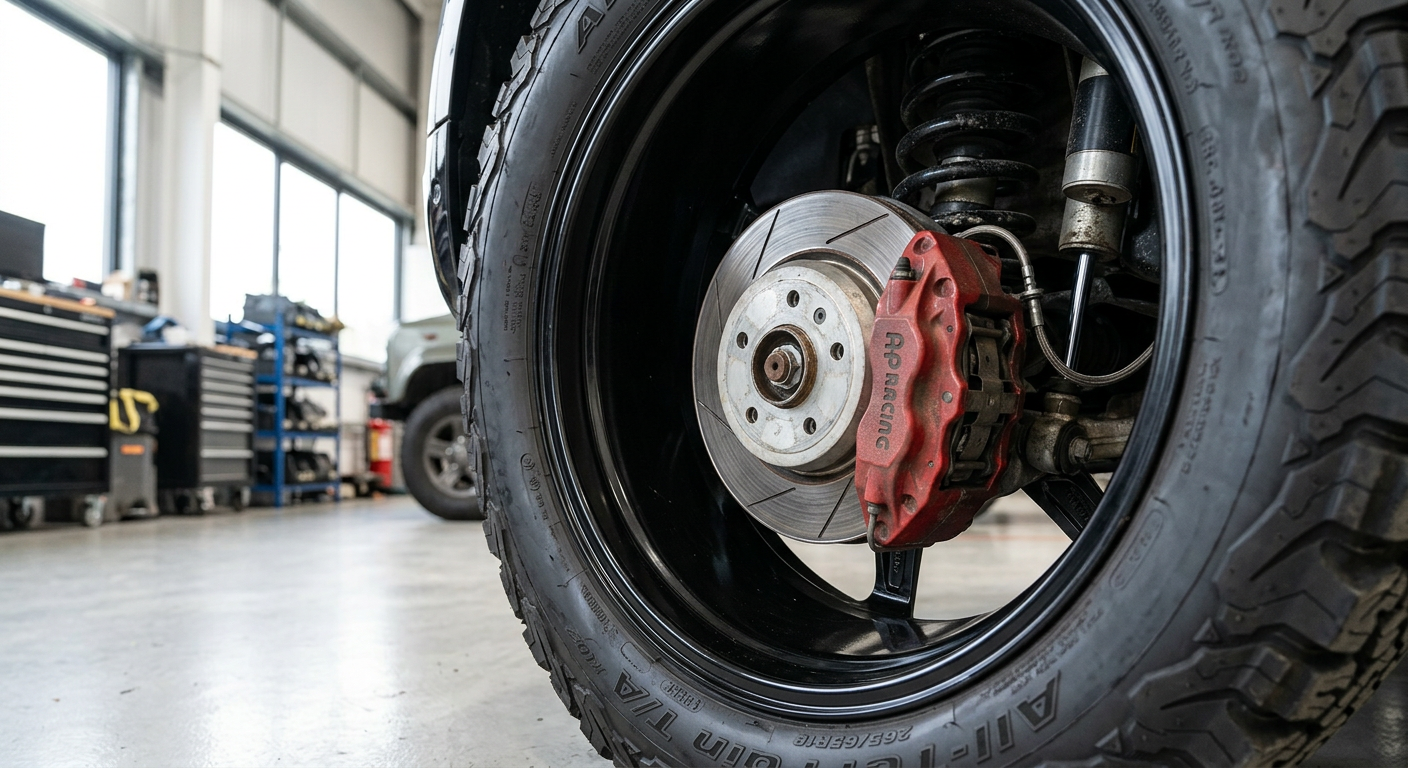
Upgrading to 18-inch wheels on higher-trim Land Rover Defender L663 models (D300 and P400) requires overcoming a major mechanical barrier: oversized factory brakes. This highly technical guide details how to safely fit 18-inch wheels, comparing rear caliper swaps to casting modifications, analyzing offsets, and detailing the DIY brake-by-wire bleeding process.
The 18-Inch Off-Road Mandate for L663 Defenders
For serious off-road use, wheel diameter is the single most critical factor limiting a modern Defender's capability. The L663 chassis, from the short-wheelbase 90 to the extended-cabin 130, is frequently delivered from the factory on 20-inch or even 22-inch wheels. On road, these large diameters provide crisp turn-in and accommodate the massive brake rotors required to bring a 3.2-tonne towing vehicle to a halt. Off-road, however, a 20-inch wheel leaves very little rubber between the rim flange and the terrain. A standard 255/60R20 tyre offers just 153mm of radial sidewall height, making it highly susceptible to pinch-flats, sidewall slices, and wheel lip deformation when aired down.
Downsizing to an 18-inch wheel transforms the vehicle's off-road footprint. By wrapping an 18-inch wheel in a common 265/70R18 tyre, the available sidewall height increases to 185.5mm. This additional 32.5mm of cushion allows the tyre to deform over jagged rocks, logs, and ruts, distributing load across a wider surface area and drastically lowering ground pressure when running at low inflation pressures (15 to 18 PSI). Furthermore, 18-inch light truck (LT) tyres feature thicker 3-ply carcass construction, which is rarely found in 20-inch sizes.
While owners of four-cylinder P300 or early D200/D240 models can bolt 18-inch wheels straight on, those driving the high-torque six-cylinder D300, P400, or supercharged V8 variants face a major mechanical obstacle. These premium powerplants come standard with oversized high-performance brake packages that physically prevent the mounting of standard 18-inch wheel barrels. Achieving the ideal off-road setup on these models requires specific, targeted mechanical modifications.
The Engineering Obstacle: Big Brakes on P400 and D300 Models
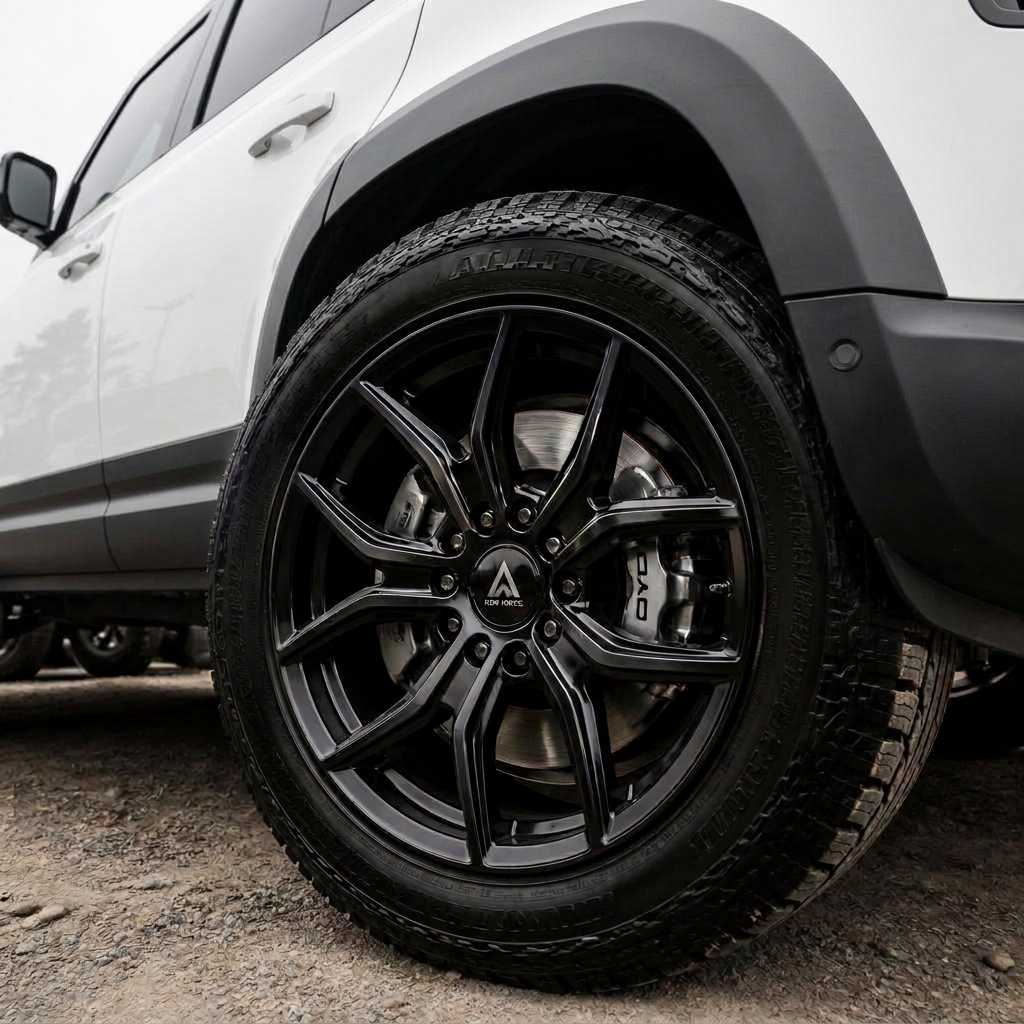
To understand why aftermarket 18-inch wheels do not simply bolt up to a D300 or P400, one must look at the brake caliper geometry. These models feature 363mm front brake discs paired with four-piston aluminium monobloc calipers, and 350mm rear discs paired with single-piston sliding calipers. The rear calipers are integrated with the Electronic Parking Brake (EPB) actuator motor. The outer profile of the rear sliding caliper assembly, particularly the carrier bridge and the electric motor housing, projects significantly past the radial sweep of the disc.
Standard aftermarket 18-inch wheels have an inner barrel drop center that interferes directly with the top of this rear caliper body. The radial clearance is negative; if you attempt to bolt a standard 18-inch wheel onto a stock P400 rear hub, the inner face of the wheel barrel will hard-seat against the steel caliper body long before the wheel makes contact with the hub mating face. The front calipers also present clearance issues, though specialized wheel manufacturers have engineered specific wheel barrel profiles—such as the Compomotive PD1881 or TuffAnt Simpson—that can clear the front 363mm calipers without modification. The rear axle, however, remains a persistent interference zone.
The Rear Brake Conversion: Caliper Swaps vs. Casting Modification
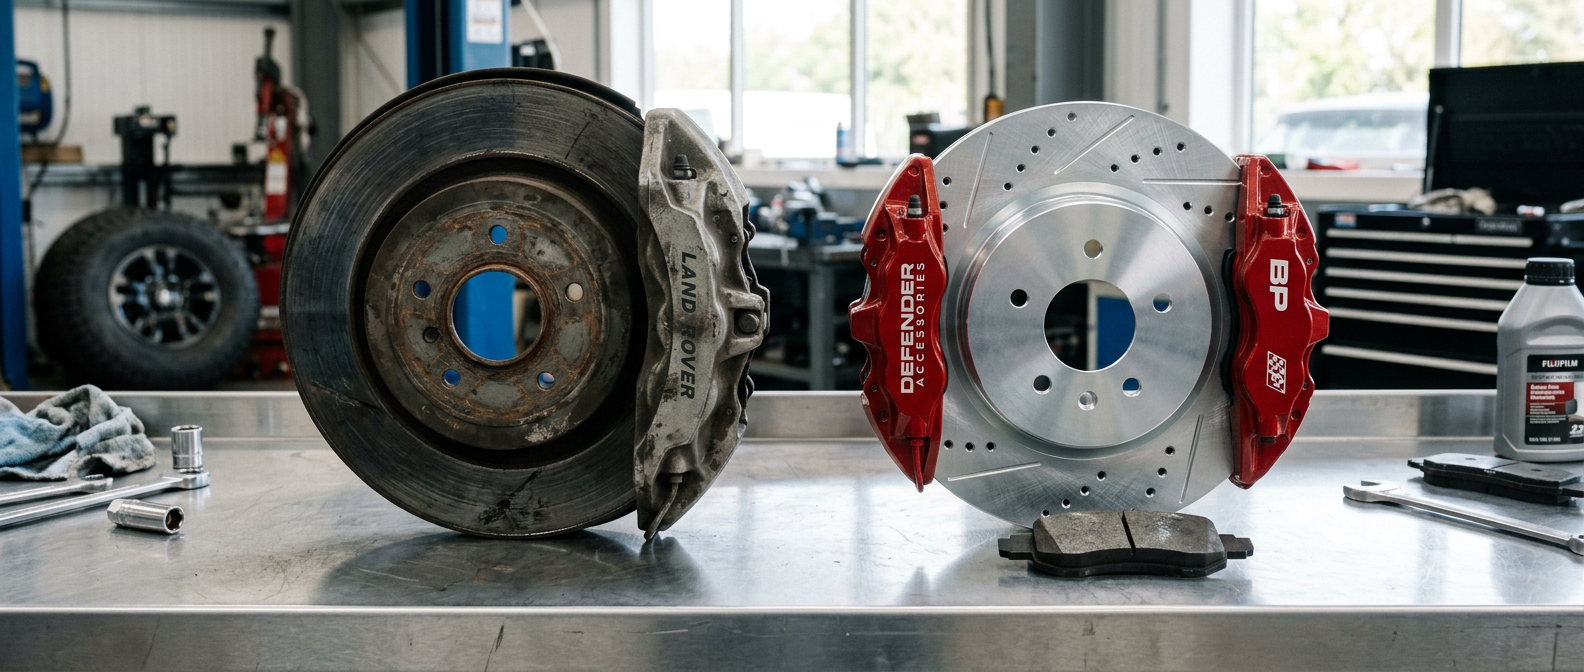
To fit 18-inch wheels on a P400 or D300, DIY mechanics must choose between two primary paths: a complete rear brake downsizing swap, or physical modification (grinding) of the factory rear calipers. The most robust engineered solution is the rear brake caliper swap. This method replaces the stock 350mm ventilated rear discs and large sliding calipers with the 325mm solid rear discs and smaller calipers found on the base-spec P300 L663. Because the L663 utilizes a highly advanced brake-by-wire system, swapping to the smaller OEM rear brakes preserves correct electronic brake integration, though it does slightly reduce the thermal capacity of the rear brakes under prolonged heavy braking or high-load towing.
The second, more controversial method is grinding the factory caliper castings. This involves using an angle grinder to shave down the raised cast metal ridges on the outer body of the OEM rear sliding calipers. Typically, between 2mm and 4mm of metal must be removed from the caliper's bridge and outer ribs to clear high-clearance 18-inch wheels like those from TuffAnt or Lucky8. While this retains the larger 350mm rotor and avoids the cost of new calipers, it presents notable risks. Removing structural material from a cast-iron sliding caliper can compromise its structural integrity under extreme emergency braking pressures, potentially leading to caliper flexing or catastrophic failure. It also strips the factory anti-corrosion coating, exposing the raw metal to rapid oxidation if not meticulously sealed with high-temperature paint.
For DIY installers, the swap method is highly recommended for safety and liability reasons. A standard swap kit includes two 325mm rear rotors, two downsized brake calipers with integrated EPB actuators, two caliper carriers, and new mounting hardware. Using factory Land Rover components designed for the lighter-weight variants ensures that brake pad compound compatibility, piston area ratios, and hydraulic volume displacements remain within acceptable ECU operating tolerances.
Navigating Wheel Offsets, Load Ratings, and Hub-Centricity
Once the brake clearance issue is resolved, wheel selection requires strict attention to load ratings and hub dimensions. The L663 Defender is a heavy vehicle with a Gross Vehicle Weight Rating (GVWR) of up to 3,250 kg depending on configuration, and a dynamic roof load capacity of up to 168 kg. Consequently, any aftermarket 18-inch wheel must carry a certified load rating of at least 1,000 kg per wheel. Standard passenger car wheels with a 5x120 bolt pattern—such as those designed for older BMWs or smaller SUVs—are entirely unsafe for this application.
The L663 hub is strictly hub-centric with a 72.6mm center bore, a 5x120 bolt pattern, and uses M14x1.5 wheel studs. Installing lug-centric wheels or using hub-centric rings that fail to precisely align the wheel center bore with the hub flange will lead to severe high-speed driveline vibrations and can shear the wheel studs under high shear loads off-road. Factory wheel offset is ET41.5. When transitioning to 18-inch wheels, offsets between ET27 and ET29 are common in the aftermarket. This lower offset pushes the wheel outward by 12.5mm to 14.5mm, which is critical for providing inner sidewall clearance against the front suspension upright (steering knuckle) and preventing the tyre from rubbing on the rear chassis leg during full articulation.
Step-by-Step DIY Rear Brake Swap and EPB Calibration
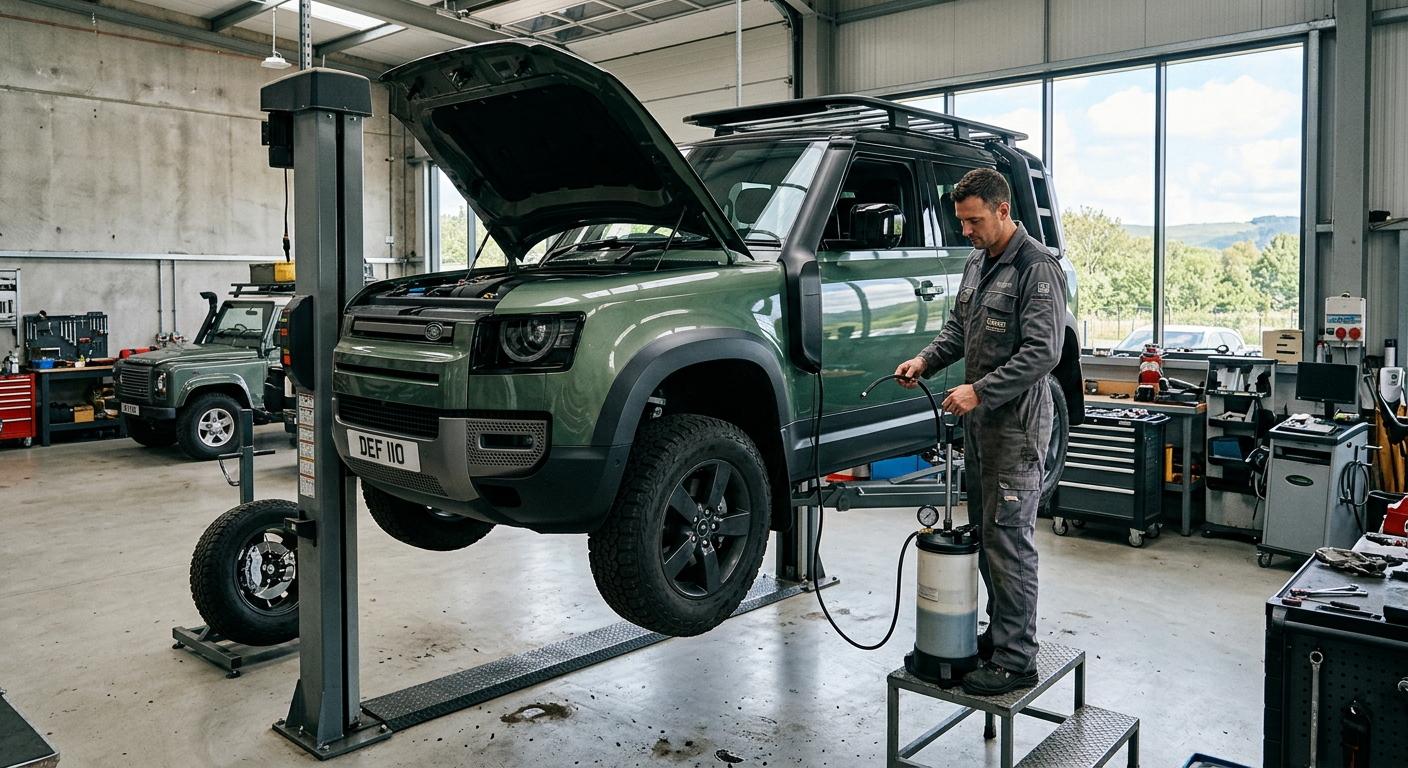
Before beginning the mechanical teardown of the rear brakes, you must put the vehicle's electronic brake-by-wire system into service mode to retract the Electronic Parking Brake (EPB) actuators. If you attempt to remove the calipers without doing this, the internal EPB spindle will remain extended, preventing installation of the new components and potentially damaging the internal gear set. This can be accomplished using an OBD-II diagnostic tool with Land Rover service capabilities, or manually via a sequence using the ignition button and accelerator pedal. Once in service mode, disconnect the negative terminal of the 12V battery to ensure the brake system does not self-pressurize while your hands are near the pistons.
Unbolt the hydraulic brake line from the caliper, immediately capping it with a rubber plug to minimize fluid loss and prevent air from migrating upstream into the ABS/DSC modulator block. Remove the two caliper slide pin bolts, lift the caliper body off the carrier, and then unbolt the carrier bracket from the suspension knuckle. Remove the single Torx retaining screw holding the 350mm rotor to the hub, and slide the rotor off. Clean the hub flange thoroughly with a wire brush to remove any scale, as even 0.05mm of rust buildup can cause brake runout and pedal pulsation. Install the new 325mm rotor, bolt on the new downsized caliper carrier torqued to the factory specification of 115 Nm, insert the new brake pads, and install the downsized caliper body.
Because the L663 uses an integrated electro-hydraulic brake-by-wire actuator, purging air from the system is more complex than on older mechanical-linkage vehicles. A pressure bleeder must be attached to the brake fluid reservoir and pressurized to precisely 2.0 bar (29 PSI). Bleed the rear calipers in sequence, starting with the passenger side (furthest from the modulator) then the driver's side. After manual bleeding is complete, reconnect the battery and use a diagnostic scanner to perform the automated ESP system bleed routine. This cycle fires the internal solenoid valves inside the DSC modulator to displace any micro-bubbles trapped in the secondary valve blocks. Finally, exit the EPB service mode and perform the EPB calibration routine to teach the parking brake ECU the new travel limits of the downsized calipers.
Clearances, Rubbing, and Fender Liner Modifications
Fitting 18-inch wheels is only half the battle; selecting and fitting the tyre size requires careful consideration of the physical clearances within the L663 wheel arches. The most popular tyre sizes for converted 18-inch wheels are 265/60R18 (30.5"), 265/65R18 (31.5"), and 275/65R18 (32.1"). While a 265/60R18 fits with zero modifications on any L663 suspension setup, it does not maximize the available sidewall gain. The 265/65R18 is the ideal middle ground but will experience minor rubbing on the front wheel arch liner at full steering lock in Access Height.
The main contact point is the raised plastic cover on the front wheel arch liners that shields the auxiliary coolers (radiators) mounted behind the front bumper on D300 and P400 models. To prevent rubbing when fitting 275/65R18 or larger tyres, you must install an intercooler shroud modification kit or perform a localized heat-gun modification. By carefully heating the protruding plastic ribs of the wheel liner and using a flat metal plate to press the softened plastic forward by 15-20mm while it cools, you can gain crucial clearance. For tyres exceeding 32.5 inches in diameter, the metal frame horns behind the plastic liner must also be slightly trimmed or replaced with aftermarket high-clearance bracket kits to avoid structural metal-to-rubber contact during off-road articulation.